
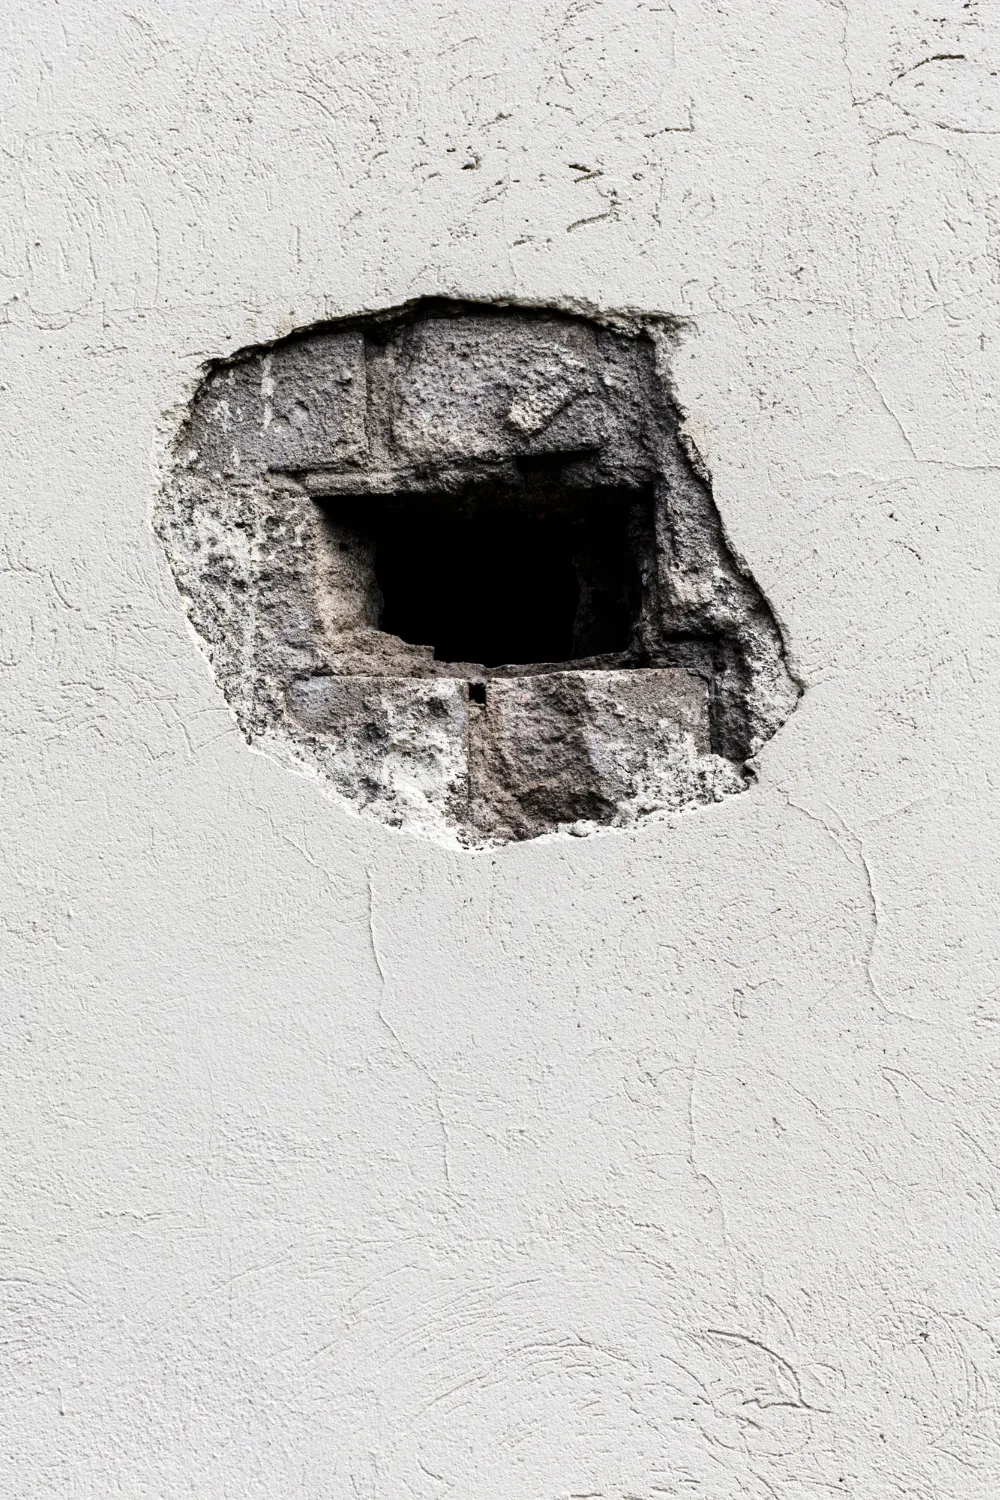
Holes in walls happen to everyone. Maybe it was an accidental bump from furniture, a doorknob mishap, or a picture that didn’t go as planned. While a hole can look intimidating, the good news is that repairing it is easier than you think. With the right materials and step-by-step guidance, you can restore your wall to a smooth, flawless surface without calling a professional.
Understanding the Type of Hole
Before diving in, it’s important to know what kind of hole you’re dealing with:
- Small holes (less than 1/2 inch) – Usually caused by nails or screws, easy to patch with spackle.
- Medium holes (1/2 inch to 6 inches) – Often from doorknobs, furniture, or accidental bumps, may require a patch.
- Large holes (larger than 6 inches) – Require a drywall repair patch or replacing a section of drywall.
Knowing the size and cause will help you pick the right materials and method.
What You’ll Need
Gather these tools and materials before starting:
- Spackle or joint compound
- Drywall patch (mesh or self-adhesive) for medium holes
- Putty knife
- Sandpaper (medium and fine grit)
- Paint that matches your wall
- Paintbrush or small roller
- Utility knife
- Damp cloth
- Primer (optional, for large repairs)
Step-by-Step: How to Fix Large Holes
- Cut a clean section
Use a utility knife to cut a square or rectangle around the hole for a neat repair area. - Insert a drywall patch
Cut a new piece of drywall to fit the hole. Secure it with drywall screws into wall studs or use a backing piece for support. - Apply joint compound
Cover the seams with joint compound and tape. Feather edges for smooth blending. - Sand, prime, and paint
Once dry, sand until smooth. Apply primer and finish with paint for a seamless repair.
Quick Fixes for Common Problems
| Problem | Step-by-Step Solution | Alternative Suggestion |
|---|---|---|
| Spackle cracks after drying | Apply a second layer of spackle and sand smooth | Use a stronger joint compound |
| Patch not sticking | Clean wall and ensure patch is flat | Use mesh tape or adhesive patch |
| Paint edges are visible | Feather edges and apply a second paint coat | Use primer before painting for even coverage |
| Large hole edges uneven | Trim edges for a clean square or rectangle | Cut new drywall piece for a perfect fit |
| Repair looks rough | Sand thoroughly and apply thin joint compound layers | Repeat sanding and painting for a smooth finish |
Tips to Prevent Wall Damage in the Future
- Use wall anchors – They help prevent nails and screws from leaving large holes.
- Handle furniture carefully – Avoid bumps that can cause dents and holes.
- Picture hanging alternatives – Adhesive hooks reduce the risk of wall damage.
- Regular inspection – Check walls for minor damage early before it worsens.
FAQ
Can I fix a wall hole without a patch?
Yes, for very small holes, spackle alone is enough. For medium or large holes, a patch is recommended for durability.
How long does it take for spackle to dry?
Drying times vary but usually range from 30 minutes to a few hours. Large repairs may take overnight.
Do I need primer before painting?
Primer helps ensure even paint coverage, especially on medium or large repairs. Small spackled areas can often be painted directly.
Can I fix holes in plaster walls the same way as drywall?
Plaster requires a slightly different approach and may need plaster compound. Small holes can still be filled with spackle.
Conclusion
Fixing a hole in the wall doesn’t need to be intimidating. With the right materials, a little patience, and step-by-step guidance, you can repair small or large holes to achieve a smooth, professional-looking finish. Whether you’re touching up a few nail holes or repairing a larger accident, these techniques will help restore your walls and keep your home looking clean and polished.
Would you like me to also create a version for beginners using only spackle and household items? It’s faster and perfect for small holes.
Enjoyed this project? Get even more DIY ideas that save (and make) you money.
Join our free newsletter for profitable DIY projects, clever cleaning hacks, home ideas, and creative crafts delivered straight to your inbox.
✓ Free forever • No spam • Unsubscribe anytime




