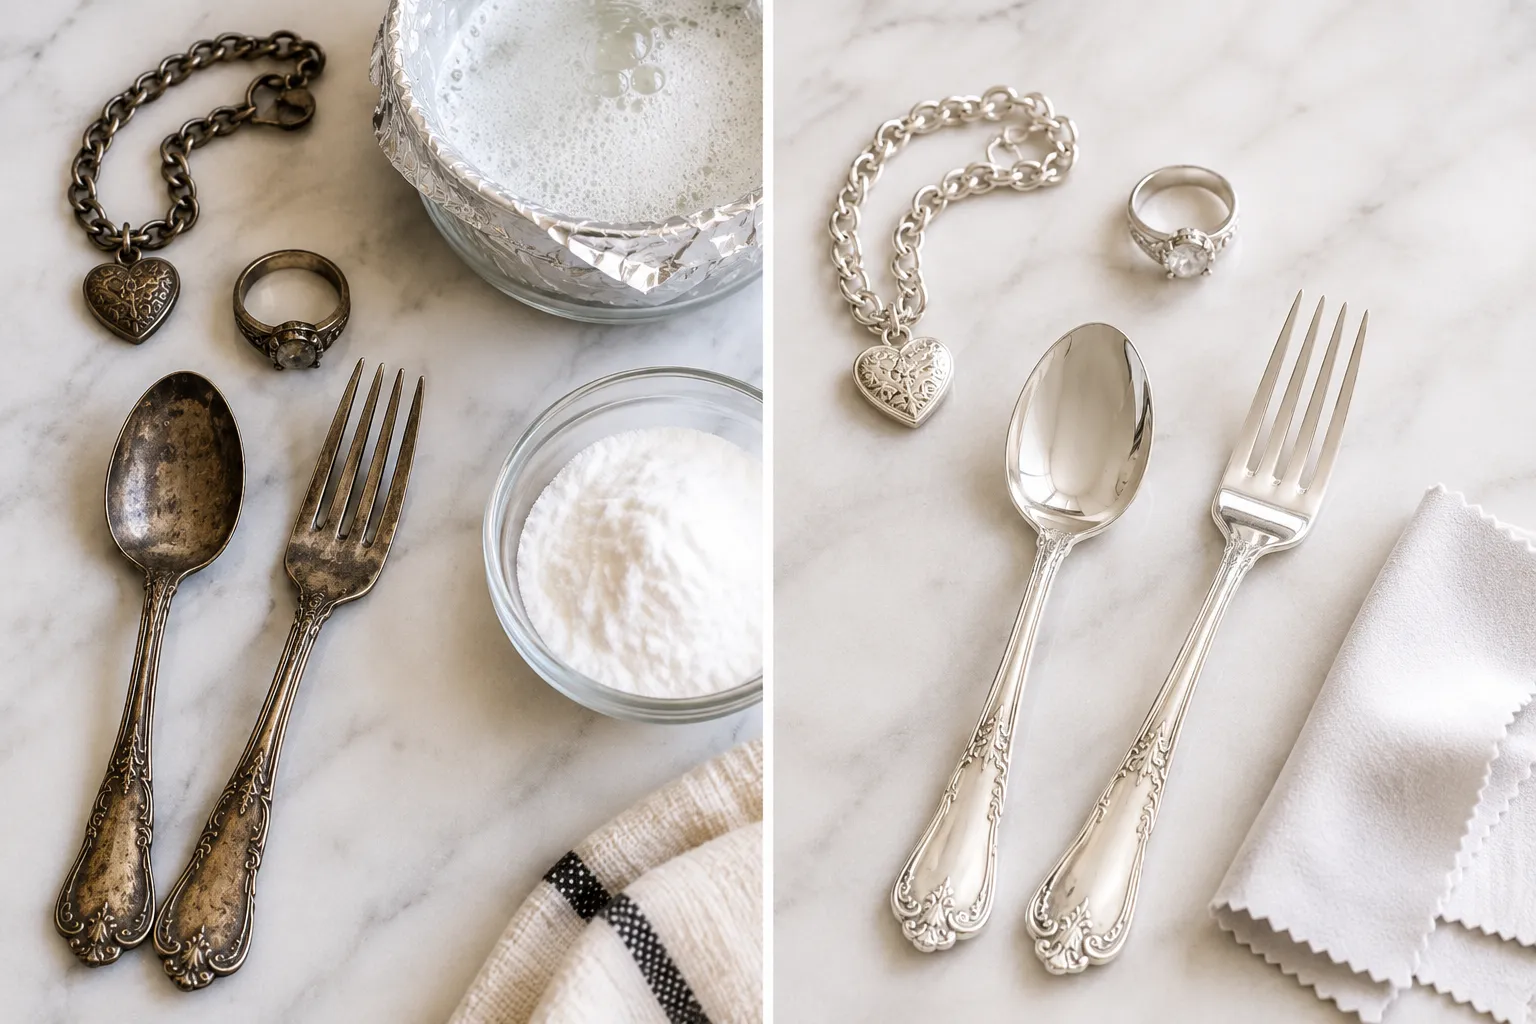
Silver tarnishes. It’s not a sign you’ve neglected it—it’s just chemistry. When silver is exposed to air and moisture, it reacts with sulfur compounds to form a dull, dark layer of silver sulfide. The good news? Baking soda is one of the most effective ways to reverse that reaction, and you almost certainly have it in your kitchen right now.
But here’s the thing: not all silver is the same, and not all baking soda methods are equal. Use the wrong technique on a delicate piece and you could end up with scratches. Use too little and the tarnish barely budges. This guide walks you through exactly what to do—and what to avoid.
Why Baking Soda Works on Silver Tarnish
Baking soda (sodium bicarbonate) is a mild abrasive and a base. On its own, it physically scrubs away tarnish. But when you combine it with aluminum foil and hot water, something more interesting happens: an electrochemical reaction actually transfers the sulfur molecules off the silver and onto the aluminum. You’re not just cleaning the surface—you’re chemically reversing the tarnish.
That’s why the foil bath method is so dramatically effective on heavily tarnished pieces. The paste method, meanwhile, is better for targeted spot-cleaning and light tarnish.
What You’ll Need
Depending on the method, gather these before you start:
- Baking soda
- Warm or hot water
- Aluminum foil
- A soft cloth or microfiber towel
- A soft-bristle toothbrush (for detailed pieces)
- A glass bowl or baking dish
- Salt (optional, for the foil method)
- Dish soap (for a final rinse)
How to Clean Silver Jewelry with Baking Soda
The Baking Soda Paste Method (Best for Light Tarnish)
This is the go-to for rings, chains, and earrings with surface-level dullness.
- Mix the paste. Combine two parts baking soda with one part water in a small bowl. Stir until you get a thick, spreadable consistency—similar to toothpaste.
- Apply it to the silver. Use your fingers or a soft cloth to gently rub the paste onto the tarnished areas. Work in small circular motions, not back-and-forth scrubbing, to minimize the chance of fine scratches.
- Get into the crevices. For engraved rings or chains with intricate links, dip a soft toothbrush into the paste and use it to gently work into the grooves where tarnish loves to hide.
- Let it sit for 2–3 minutes. Don’t leave it on longer than five minutes, especially on plated silver, as prolonged contact can wear down the coating.
- Rinse thoroughly with warm water. Make sure every trace of baking soda is gone—residue left in crevices can cause discoloration over time.
- Dry completely. Pat dry immediately with a soft microfiber cloth. Air drying can leave water spots and even encourage new tarnish.
How to Clean Silver with Baking Soda and Aluminum Foil (Best for Heavy Tarnish)
This is the method that genuinely surprises people. It looks too simple to work—and then it absolutely does.
- Line a bowl with aluminum foil. Use a glass bowl or baking dish and press a sheet of foil against the bottom, shiny side up.
- Add the silver pieces. Lay them flat so they’re in direct contact with the foil. This contact is essential—the electrochemical reaction requires it.
- Sprinkle baking soda generously over the silver. About one tablespoon per cup of water you’ll be using.
- Add a pinch of salt. Table salt acts as an electrolyte and speeds up the reaction. This step is optional but noticeably effective on very dark tarnish.
- Pour in hot (not boiling) water. You’ll immediately see bubbling and, often, a faint sulfur smell—that’s the reaction working. It means it’s pulling tarnish off your silver.
- Wait 5–10 minutes. For severe tarnish, you can go up to 15 minutes. Watch the pieces—you’ll often see the tarnish visibly fading.
- Remove, rinse, and dry. Use tongs if the water is still hot. Rinse each piece well under warm water, then buff dry with a soft cloth.
How to Clean Silver Flatware with Baking Soda
For silverware and serving pieces, the foil bath method scales up beautifully. Use a large baking dish lined with foil, add your flatware in a single layer (pieces touching the foil), and follow the same steps above. For a full set of cutlery, you may need to work in batches.
Avoid soaking flatware with hollow handles, glued components, or pieces with non-silver accents—the hot water can loosen adhesives or damage inlays.
What Not to Clean with Baking Soda
Baking soda is safe for sterling silver and most solid silver pieces. However, be cautious with:
- Silver-plated items: The abrasive quality, even mild, can wear through thin plating over repeated use. Use it sparingly.
- Antique or oxidized silver: Some silver is intentionally darkened in recessed areas for decorative effect. Baking soda will remove that patina.
- Pearls or gemstone settings: Never soak pieces where stones are glued rather than set. Water and heat can loosen them.
How to Keep Silver from Tarnishing Again
Cleaning is only half the battle. Here’s how to slow tarnish down:
- Store silver in anti-tarnish bags or cloths. These are inexpensive and make a real difference.
- Keep pieces away from humidity. A bathroom jewelry dish sounds convenient but accelerates tarnish.
- Wear your silver regularly. The natural oils from your skin actually help keep silver polished.
- Place a chalk piece or silica gel packet in your jewelry box to absorb moisture.
FAQ
Can I use baking soda on sterling silver? Yes. Sterling silver (92.5% silver) responds very well to both the paste and foil bath methods.
How often can I clean silver with baking soda? For solid sterling, once a month is fine if needed. For plated silver, limit it to a few times a year to protect the coating.
Will baking soda scratch silver? It can leave micro-scratches if you scrub aggressively. Always use a soft cloth and gentle circular pressure—never rough scrubbing pads.
Does baking soda remove heavy black tarnish? The foil bath method handles heavy tarnish remarkably well. For extreme cases, a second treatment usually finishes the job.
The Bottom Line
Baking soda is genuinely one of the best tools you have for silver care—especially when you use the foil method for tarnished pieces. The key is matching the method to the level of tarnish and the type of silver you’re working with. Go gentle on plated items, never skip the thorough rinse, and always dry completely before storing. Your silver will look like new—and stay that way longer if you store it right.
Enjoyed this project? Get even more DIY ideas that save (and make) you money.
Join our free newsletter for profitable DIY projects, clever cleaning hacks, home ideas, and creative crafts delivered straight to your inbox.
✓ Free forever • No spam • Unsubscribe anytime