
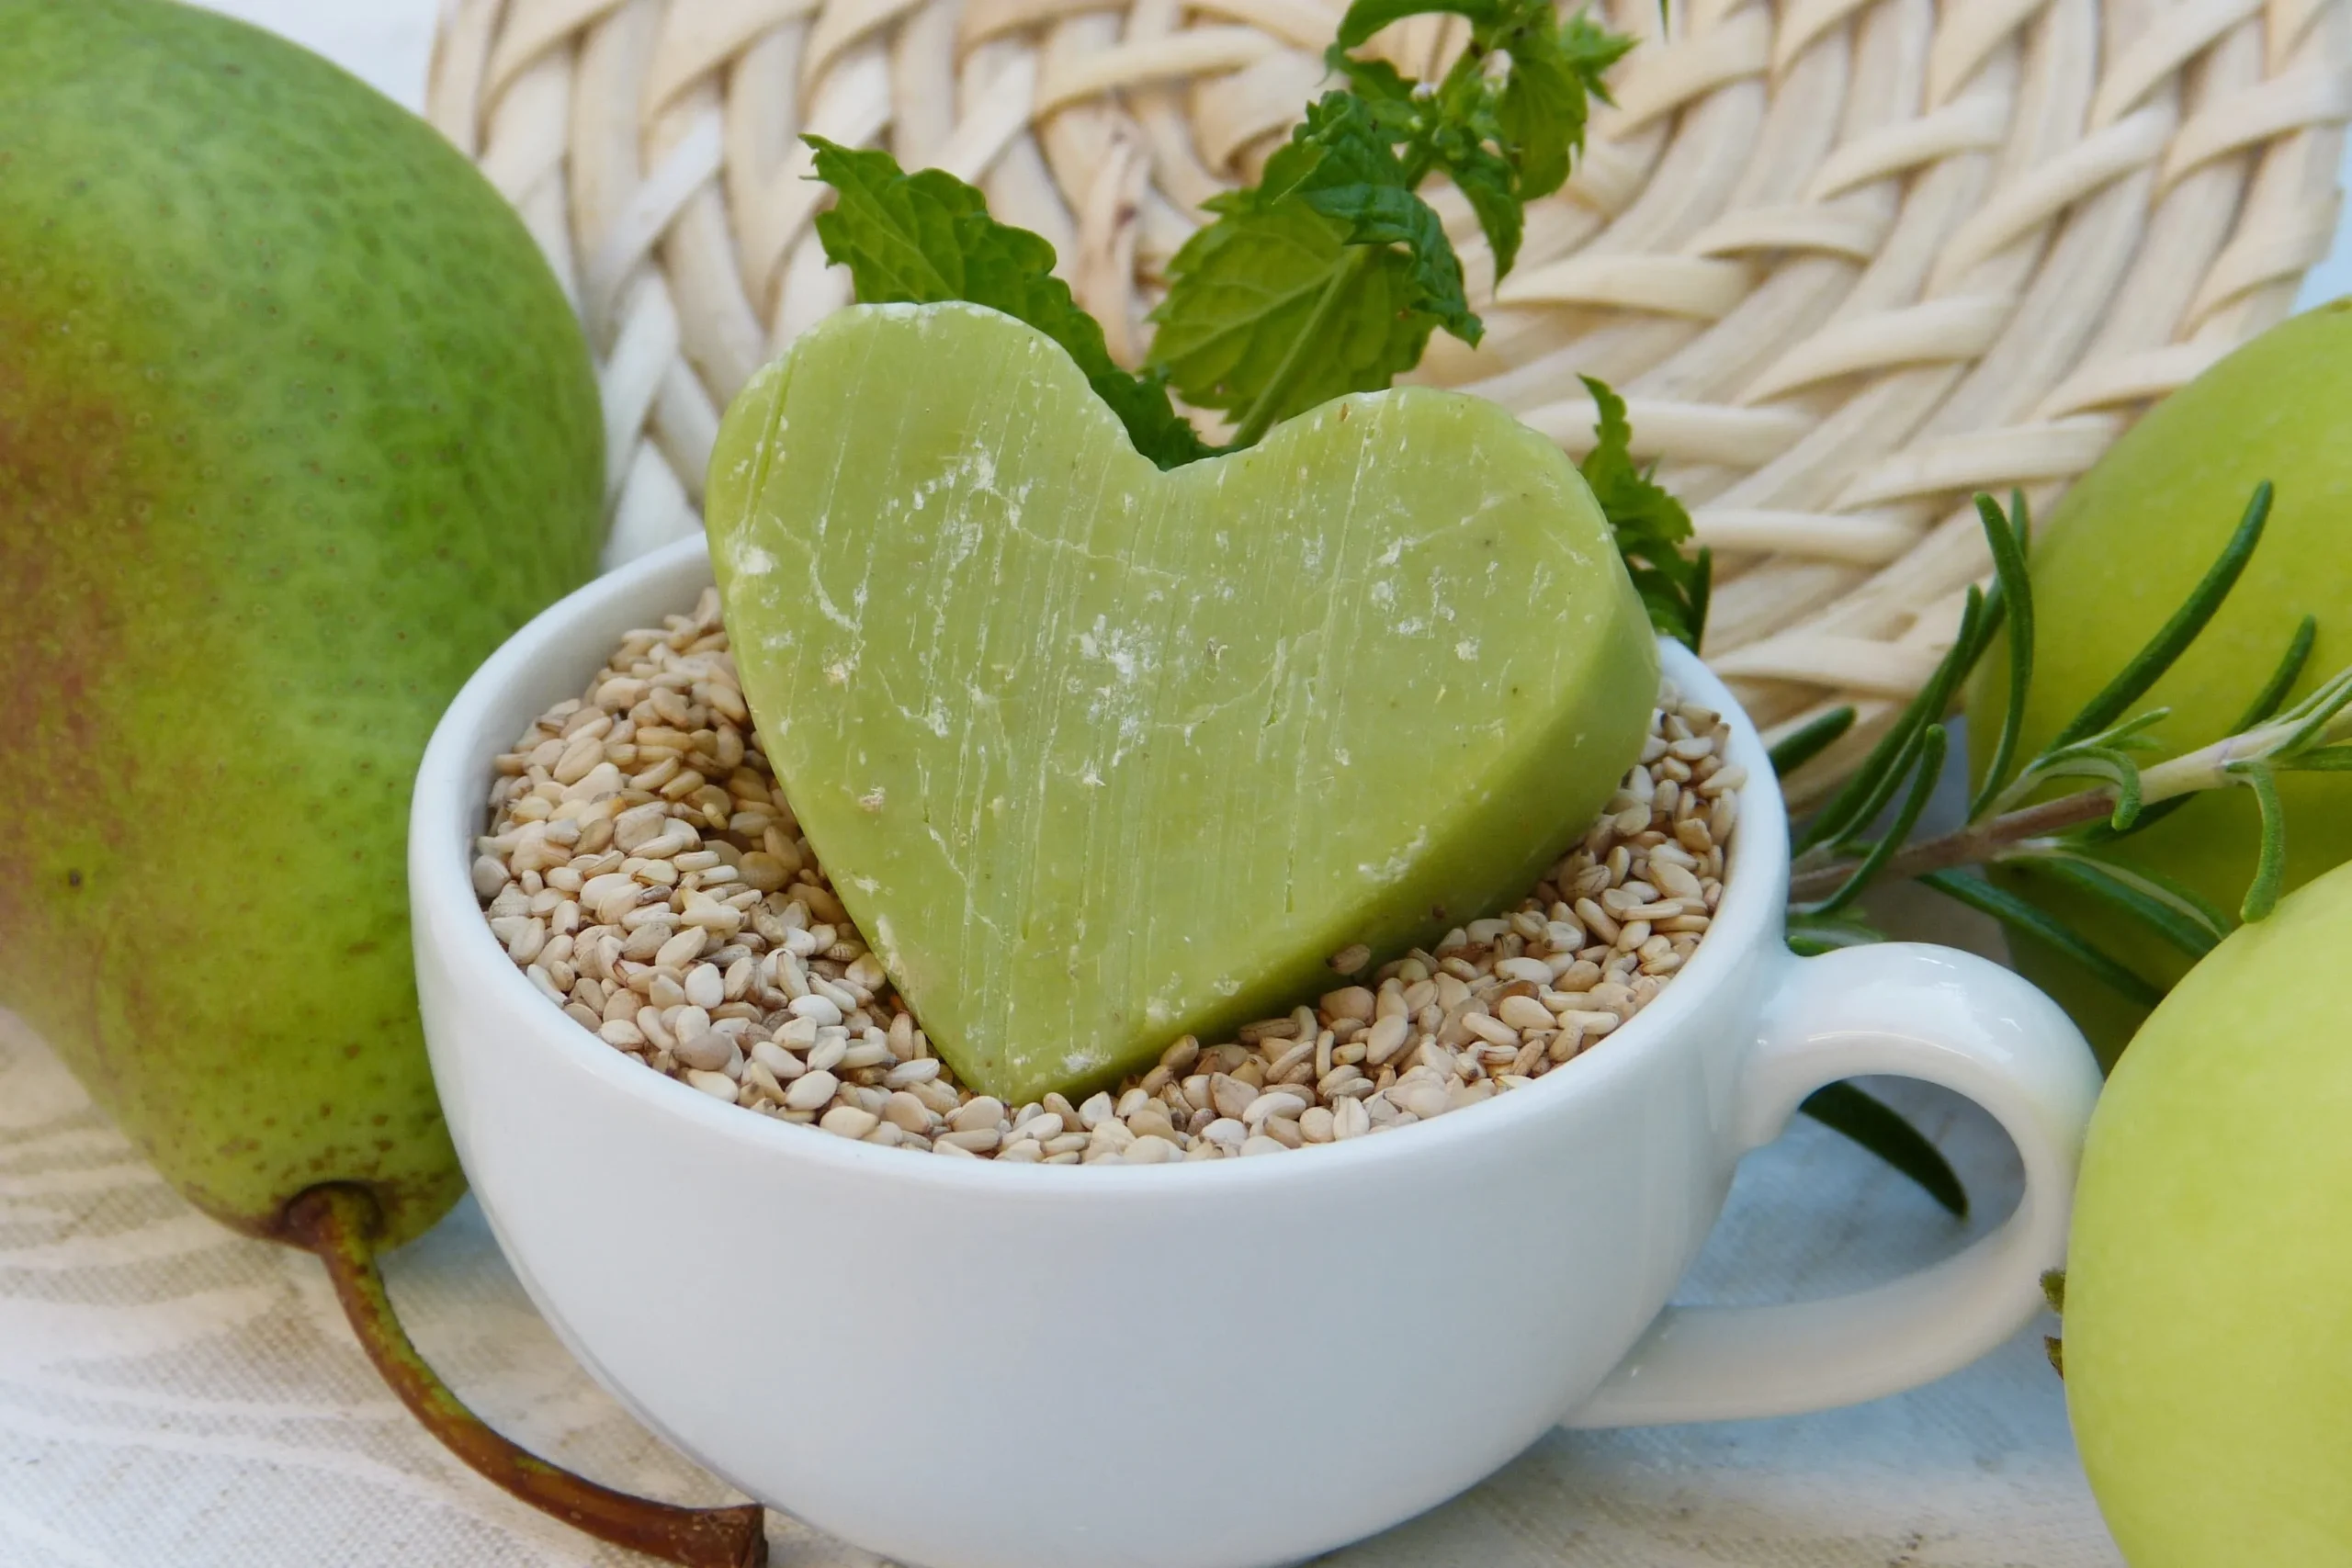
Aloe vera is one of the most genuinely useful ingredients you can add to handmade soap. Unlike a lot of trendy additives that sound good on a label but don’t do much in a rinse-off product, aloe vera delivers real benefits at the skin level. It’s anti-inflammatory, deeply hydrating, and rich in polysaccharides that help the skin retain moisture long after washing. In soap, it produces a creamy, conditioning lather and a finished bar that feels noticeably different from anything you’d pick off a drugstore shelf.
The challenge with aloe vera in soap making is that it behaves differently depending on the form you use and the base you add it to. Fresh aloe gel can accelerate trace in cold process soap and introduce bacteria that shorten shelf life. Aloe juice works more predictably. Aloe powder is the most stable and consistent option. Getting familiar with how each form behaves means fewer batches that don’t go as planned.
This guide covers six aloe vera soap recipes—from a simple beginner melt and pour bar to a full cold process formulation—including honey, oatmeal, turmeric, and lavender variations that each bring something different to the final bar.
What Aloe Vera Does in Soap
Before getting into the recipes, it helps to understand what you’re actually adding when you put aloe in soap:
- Hydration: Aloe is roughly 99% water, but that remaining 1% contains polysaccharides, amino acids, and enzymes that support skin hydration and barrier function.
- Soothing: The anti-inflammatory compounds in aloe—including acemannan—calm irritated, sensitive, or sunburned skin.
- Lather quality: Aloe vera juice used as the water component in cold process soap produces a denser, creamier lather than plain water.
- Color: Aloe vera gel introduces a faint green tint to soap, though this typically fades during the cure period. Aloe powder can add a deeper color depending on the concentration used.
Forms of Aloe Vera Used in Soap Making
- Fresh aloe gel: Scooped directly from the leaf. Highly active but introduces bacteria, can cause rapid trace in cold process, and has a shorter shelf life. Best for melt and pour.
- Aloe vera juice (stabilized): The most practical form for soap making. Stable, consistent, and can fully replace the water component in cold process formulas.
- Aloe vera powder: The most concentrated and shelf-stable form. A small amount goes a long way—typically 1 teaspoon per pound of soap base. Dissolve in a small amount of liquid before adding.
- Store-bought aloe gel (99% pure): Works well for melt and pour and is more stable than fresh-cut gel. Make sure it contains no added color or fragrance.
General Usage Rates
- Melt and pour: Replace up to 50% of the liquid used to mix additives with aloe vera juice or gel, or add 1 teaspoon of aloe powder per 500g of base.
- Cold process: Replace the full water component with aloe vera juice, or use at 20–30% of the water weight as a partial replacement.
What You’ll Need (General Supplies)
- Aloe vera gel, juice, or powder (depending on the recipe)
- Melt and pour soap base (clear or white) or cold process oils
- Soap molds (silicone loaf or individual cavity)
- A digital kitchen scale
- Microwave-safe bowls or a double boiler
- Stick blender (for cold process)
- Thermometer
- Fragrance or essential oils
- Rubbing alcohol in a spray bottle (for melt and pour surface bubbles)
- Protective gloves and goggles (essential for cold process)
Dedicate separate tools to soap making—aloe and other additives can stain plastic and silicone.
Recipe 1: Basic Aloe Vera Melt and Pour Soap
This is the best starting point for anyone new to aloe vera soap making. No lye handling, minimal equipment, and a finished bar in under an hour that genuinely showcases what aloe does for skin feel and lather quality.
What you’ll need:
- 500g clear melt and pour soap base (clear base lets the natural aloe color show through)
- 2 tablespoons aloe vera gel (store-bought 99% pure or fresh-scooped)
- 1 tablespoon jojoba oil or sweet almond oil
- 20 drops essential oil (tea tree, lavender, or peppermint all work well)
- Soap molds
Instructions:
- Cut the soap base into small, even chunks. Smaller pieces melt more evenly and prevent overheating. Place in a microwave-safe bowl or the top of a double boiler.
- Melt the soap base gently. In the microwave, heat in 30-second intervals, stirring between each, until fully melted. In a double boiler, stir continuously over medium-low heat. Don’t let it boil—overheated melt and pour base turns grainy and loses clarity.
- Allow the melted base to cool to 130–140°F before adding anything. Adding aloe vera to scorching hot base can cause it to bubble excessively or lose some of its active compounds.
- Mix the aloe vera gel with the carrier oil in a small dish before adding to the base. Combining them first helps them incorporate more evenly without creating streaks or pockets of gel.
- Stir the aloe mixture into the melted base thoroughly, using a spoon or whisk for at least one minute to fully distribute.
- Add your essential oils and stir again for 30 seconds. Add these last, just before pouring, to preserve the scent profile.
- Pour into molds immediately. Melt and pour sets faster than you expect—work quickly. Spray the surface immediately with rubbing alcohol to pop any air bubbles.
- Allow to set for 2–4 hours at room temperature before unmolding. Avoid the refrigerator—it causes condensation on the surface.
Cure time: Melt and pour can technically be used immediately, but waiting 24 hours gives a harder, longer-lasting bar.
Recipe 2: Aloe Vera and Honey Soap
Honey and aloe are a genuinely excellent combination in soap. Both are humectants—they draw moisture from the air into the skin—so this bar is particularly good for dry, sensitive, or eczema-prone skin. The honey also adds a warm, golden color and a subtle sweetness to the scent.
What you’ll need:
- 500g white melt and pour soap base (white shows the honey color more beautifully than clear)
- 2 tablespoons aloe vera gel
- 1 tablespoon raw honey (raw honey retains more active enzymes than processed)
- 1 tablespoon sweet almond oil
- 15 drops chamomile essential oil or vanilla fragrance oil
- 10 drops sandalwood essential oil (optional)
- Soap molds
Instructions:
- Melt the white soap base in 30-second microwave intervals, stirring between each, until fully liquid.
- Warm the honey very slightly—five seconds in the microwave—so it incorporates more easily. Cold honey can cause streaking in the finished bar.
- Mix the aloe vera gel and sweet almond oil together in a small dish until combined.
- Cool the melted base to 130–140°F, then add the aloe mixture and stir thoroughly for one minute.
- Add the warmed honey and stir gently but completely. Honey can cause slight bubbling when added to hot soap base—this is normal and settles quickly.
- Add essential oils and give a final 30-second stir.
- Pour into molds and spray immediately with rubbing alcohol to eliminate surface bubbles.
- Allow to set for 4–6 hours before unmolding. Honey lowers the melting point of melt and pour slightly, so honey bars can be softer than standard bars in warm environments—store in a cool place or wrap in shrink film.
Cure time: 24 hours minimum before use; 48 hours gives a firmer bar.
Recipe 3: Aloe Vera and Oatmeal Soap
Oatmeal and aloe together create a bar that’s particularly well-suited for sensitive or irritated skin. Colloidal oatmeal is clinically proven to reduce skin inflammation and itching—it’s the same ingredient in prescription eczema treatments—and combined with aloe’s soothing properties, this bar is genuinely therapeutic rather than just pleasant.
What you’ll need:
- 500g white melt and pour soap base
- 2 tablespoons aloe vera gel
- 2 tablespoons colloidal oatmeal (finely ground oatmeal—blend regular oats in a food processor if you don’t have colloidal)
- 1 tablespoon coconut oil
- 15 drops lavender essential oil
- 10 drops chamomile essential oil
- Soap molds
Instructions:
- Melt the soap base in 30-second microwave intervals until fully liquid, stirring between each round.
- Mix the colloidal oatmeal with the aloe vera gel in a small bowl to form a smooth slurry. Dry oatmeal added directly to hot soap base clumps—mixing it with the aloe first ensures even distribution throughout the bar.
- Mix the coconut oil into the aloe-oatmeal slurry and stir until combined.
- Cool the melted base to 130–140°F, then stir in the oatmeal-aloe mixture thoroughly. Work quickly—oatmeal can cause the base to thicken faster than usual.
- Add the essential oils and stir for another 30 seconds.
- Pour into molds immediately and spray with rubbing alcohol. The oatmeal may settle slightly in the base—giving the mold a gentle tap on the counter helps redistribute it.
- Allow to set for 4–6 hours before unmolding.
Note: Oatmeal soap benefits from individual cavity molds rather than a loaf—the oatmeal can cause slight sticking that makes clean loaf slicing harder.
Recipe 4: Aloe Vera and Turmeric Soap
This is the brightening bar. Aloe vera’s skin-evening properties combine with turmeric’s curcumin—which inhibits melanin production and reduces inflammation—to produce a bar that works on hyperpigmentation, acne-prone skin, and uneven tone over time. The finished bar will be a warm golden color and smells incredible with the right essential oil pairing.
What you’ll need:
- 500g clear melt and pour soap base
- 2 tablespoons aloe vera gel
- 1 teaspoon turmeric powder
- 1 tablespoon rosehip oil (particularly good for skin tone—rich in vitamin A)
- 20 drops frankincense essential oil
- 10 drops orange or grapefruit essential oil
- Soap molds
Instructions:
- Melt the clear soap base in 30-second intervals until fully liquid.
- Combine the turmeric powder, aloe vera gel, and rosehip oil in a small bowl. Mix until the turmeric is fully dissolved into the gel and oil—no dry clumps. Pre-mixing prevents turmeric from clumping when it hits the hot base.
- Cool the melted base to 130–140°F, then stir in the turmeric-aloe mixture slowly and thoroughly. Stir for a full minute to ensure even color distribution throughout the base.
- Add the essential oils and give a final 30-second stir.
- Pour into molds quickly and spray with rubbing alcohol. The finished bar will be a deep amber-gold color.
- Allow to set for 4–6 hours before unmolding.
Usage note: At these concentrations, turmeric won’t stain the skin—the color rinses off with the lather. Inform anyone you gift this bar to, since the golden color surprises people.
Recipe 5: Aloe Vera and Lavender Soap
Lavender is the most compatible essential oil for aloe vera in terms of skin benefits—both are anti-inflammatory, both support sensitive skin, and together they create a bar with a genuinely therapeutic scent profile. This recipe uses a purple-tinted melt and pour base or natural purple colorant to visually reflect the lavender content.
What you’ll need:
- 500g white melt and pour soap base
- 2 tablespoons aloe vera gel
- 1 tablespoon aloe vera powder (the combination of gel and powder boosts aloe concentration for extra skin benefit)
- 1 tablespoon castor oil (builds lather)
- 30 drops lavender essential oil
- 10 drops cedarwood essential oil (grounding base note)
- Purple cosmetic colorant or a pinch of purple Brazilian clay (optional)
- Dried lavender buds for decoration (optional)
- Soap molds
Instructions:
- Dissolve the aloe vera powder in the aloe vera gel before starting—whisk together in a small bowl until fully smooth. Powder added directly to hot base tends to clump.
- Melt the soap base in 30-second microwave intervals, stirring between each, until fully liquid.
- Add the colorant to the melted base if using, and stir thoroughly to distribute evenly before adding other ingredients.
- Cool the base to 130–140°F, then stir in the aloe gel-powder mixture and castor oil thoroughly.
- Add the essential oils and stir for 30 seconds.
- Pour into molds and spray with rubbing alcohol. If using dried lavender buds for decoration, sprinkle them on the surface immediately after pouring and before the surface sets.
- Allow to set for 4–6 hours before unmolding.
Note on lavender buds: Dried lavender on the soap surface looks beautiful but turns brown within a few weeks of exposure to air. If you’re making bars to use within a few weeks, lavender buds are a lovely touch. For bars to store or gift, skip them or press them into a clear melt and pour embed layer instead.
Recipe 6: Aloe Vera Cold Process Soap
Cold process soap produces the most conditioning, long-lasting bars available in handmade soap making. This recipe uses aloe vera juice as a full or partial water replacement, which produces a creamier lather and a bar with noticeably better skin feel than one made with plain water. It requires handling lye (sodium hydroxide) and is intended for makers who have researched lye safety and are comfortable with the cold process method.
What you’ll need:
- 400g olive oil (conditioning, gentle)
- 200g coconut oil (cleansing, builds lather)
- 150g shea butter (moisturizing, creamy lather)
- 150g castor oil (lather booster)
- 143g sodium hydroxide (lye)—always verify with a lye calculator before starting
- 340g aloe vera juice (replaces water entirely—use stabilized aloe juice, not fresh gel)
- 2 tablespoons aloe vera powder (optional, for additional aloe concentration)
- 30g fragrance or essential oil (lavender and tea tree is an excellent combination)
- Soap molds (silicone loaf recommended)
Safety first: Wear gloves, goggles, and long sleeves. Work in a well-ventilated area. Always add lye to liquid—never the reverse. The mixture will heat significantly and briefly release fumes.
Instructions:
- Freeze the aloe vera juice into ice cubes or refrigerate until very cold before starting. Aloe juice can scorch and turn orange when lye is added at room temperature—using it cold or frozen prevents this and preserves the aloe’s active compounds. This is the most important step specific to aloe cold process soap.
- Make your lye solution. Slowly pour the lye into the cold aloe juice, stirring gently. The solution will heat up and may briefly turn orange or yellow—this is normal and will lighten during the cure. If you’re using aloe powder, dissolve it in a small amount of the aloe juice before adding to the rest.
- Set the lye solution aside to cool to 90–100°F. Because you started with cold aloe juice, this will cool more quickly than a standard water-based lye solution.
- Melt your solid oils. Gently melt the coconut oil and shea butter together. Once melted, add the olive oil and castor oil. Cool to 90–100°F—you want the lye solution and oils at similar temperatures before combining.
- Combine the lye solution and oils. Pour the lye solution slowly into the oils, never the reverse. Use a stick blender in short bursts to bring to light trace—a consistency similar to thin pudding where a drizzle sits momentarily on the surface.
- Add fragrance or essential oils and blend briefly to incorporate at light trace. Some fragrance oils accelerate trace significantly—if the batter starts thickening fast, pour immediately.
- Pour into the mold and tap gently on the counter to release air bubbles. Smooth the top with a spatula.
- Do not insulate this soap. Aloe vera cold process soap benefits from a cooler cure—insulating can cause overheating and a phenomenon called soap volcanoes or glycerin rivers, particularly with the sugars present in aloe. Leave the mold uncovered or lightly covered without insulating.
- Leave undisturbed for 48–72 hours before unmolding. Aloe soap often takes longer to harden than standard cold process—if it’s still soft at 48 hours, wait another day.
- Unmold and cut into bars, wearing gloves—the bars are still caustic at this stage.
- Cure for 4–6 weeks in a cool, dry location with good airflow, turning bars weekly. The cure hardens the bar, evaporates excess moisture, and completes the saponification process.
Why freezing the aloe matters: Aloe vera contains sugars that react dramatically with lye heat. Starting with frozen or very cold aloe juice controls the temperature of the reaction and prevents the juice from scorching, which destroys the active compounds and produces an unpleasant orange batter that never fully lightens.
Recipe Comparison at a Glance
| Recipe | Skill Level | Best For | Key Benefit |
|---|---|---|---|
| Basic melt and pour | Beginner | All skin types | Easy entry point |
| Aloe and honey | Beginner | Dry, sensitive skin | Double humectant |
| Aloe and oatmeal | Beginner | Eczema, irritated skin | Anti-inflammatory |
| Aloe and turmeric | Beginner–Intermediate | Uneven tone, acne | Brightening |
| Aloe and lavender | Beginner–Intermediate | Sensitive, stressed skin | Calming, therapeutic |
| Cold process | Advanced | All skin types | Superior conditioning bar |
Tips for Working with Aloe Vera in Soap
- Use stabilized aloe juice for cold process, not fresh gel. Fresh gel introduces bacteria and unpredictable sugars that cause problems in the saponification process.
- Freeze aloe juice before adding lye in cold process. This single step prevents scorching and color changes that can’t be reversed.
- Start with less aloe powder than you think you need. A teaspoon per pound of base is sufficient—more doesn’t produce proportionally better results and can affect the bar’s texture.
- Expect color variation. Aloe gel introduces a green tint that typically fades during cure. Cold process aloe bars may turn orange or amber initially and lighten over the cure period.
- Label bars clearly if gifting—particularly the turmeric variation, which surprises people with its golden lather.
FAQ
Does aloe vera survive the saponification process in cold process soap? Partially. The heat of saponification destroys some of the active compounds in aloe vera, but the polysaccharides and moisturizing compounds survive to a meaningful degree. Using a full aloe juice replacement and keeping temperatures controlled preserves more of the active content than using aloe as a minor additive.
Can I use fresh aloe vera from my garden? Yes, but with caution. Fresh gel works well in melt and pour where there’s no lye reaction. In cold process, fresh gel introduces bacteria and unpredictable sugars—use stabilized juice instead for more reliable results.
How long does homemade aloe vera soap last? Melt and pour bars last 1–2 years if kept dry. Cold process bars last 2–3 years with proper storage away from humidity and direct sunlight.
Is aloe vera soap good for acne? Yes—particularly the turmeric or tea tree variations. Aloe vera’s anti-inflammatory and antimicrobial properties make it genuinely beneficial for acne-prone skin in a leave-on product, and some of those benefits transfer even in a rinse-off bar.
The Bottom Line
Aloe vera is one of the most rewarding ingredients to work with in soap making because it genuinely improves the finished bar rather than just adding a label claim. Start with the basic melt and pour recipe to get comfortable with how aloe behaves, then try the honey or oatmeal variation for a more targeted skin benefit. Work up to the cold process recipe once you’re confident—the result is a bar that’s noticeably more conditioning than anything you can buy, and one where the aloe’s active compounds are preserved at their highest concentration.
Enjoyed this project? Get even more DIY ideas that save (and make) you money.
Join our free newsletter for profitable DIY projects, clever cleaning hacks, home ideas, and creative crafts delivered straight to your inbox.
✓ Free forever • No spam • Unsubscribe anytime




