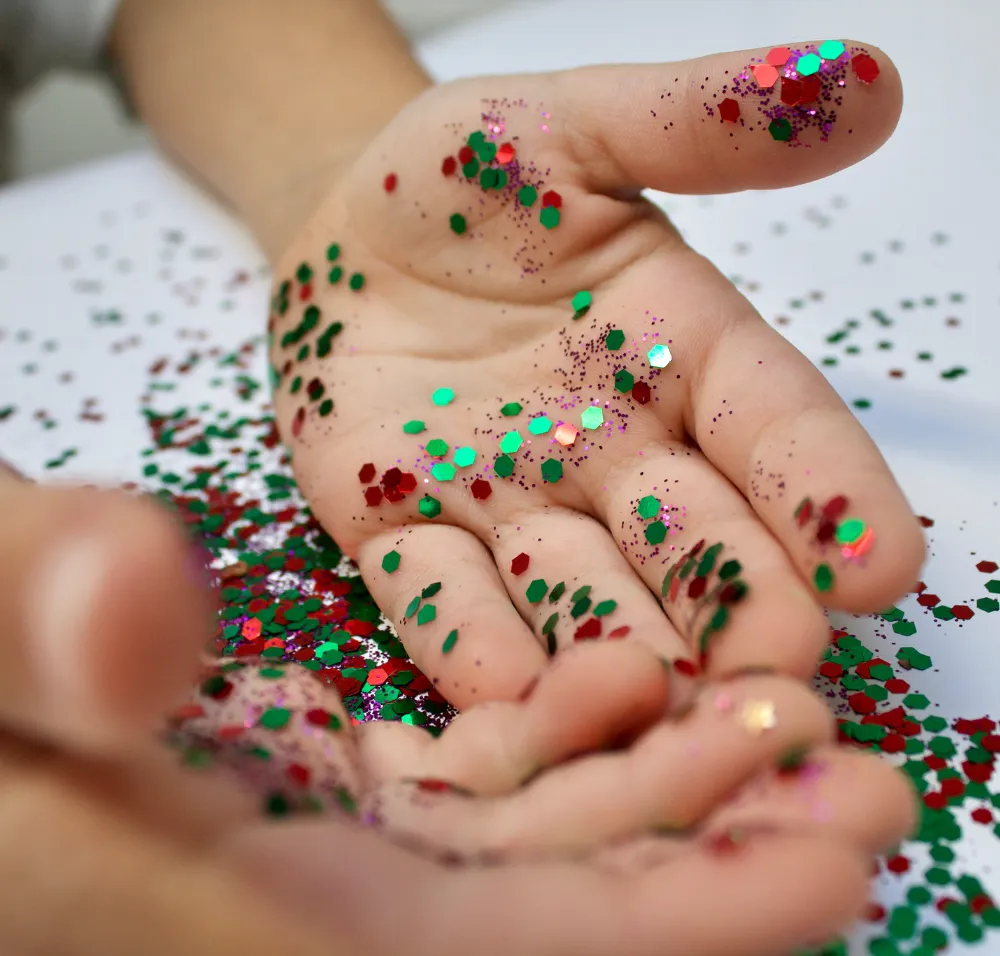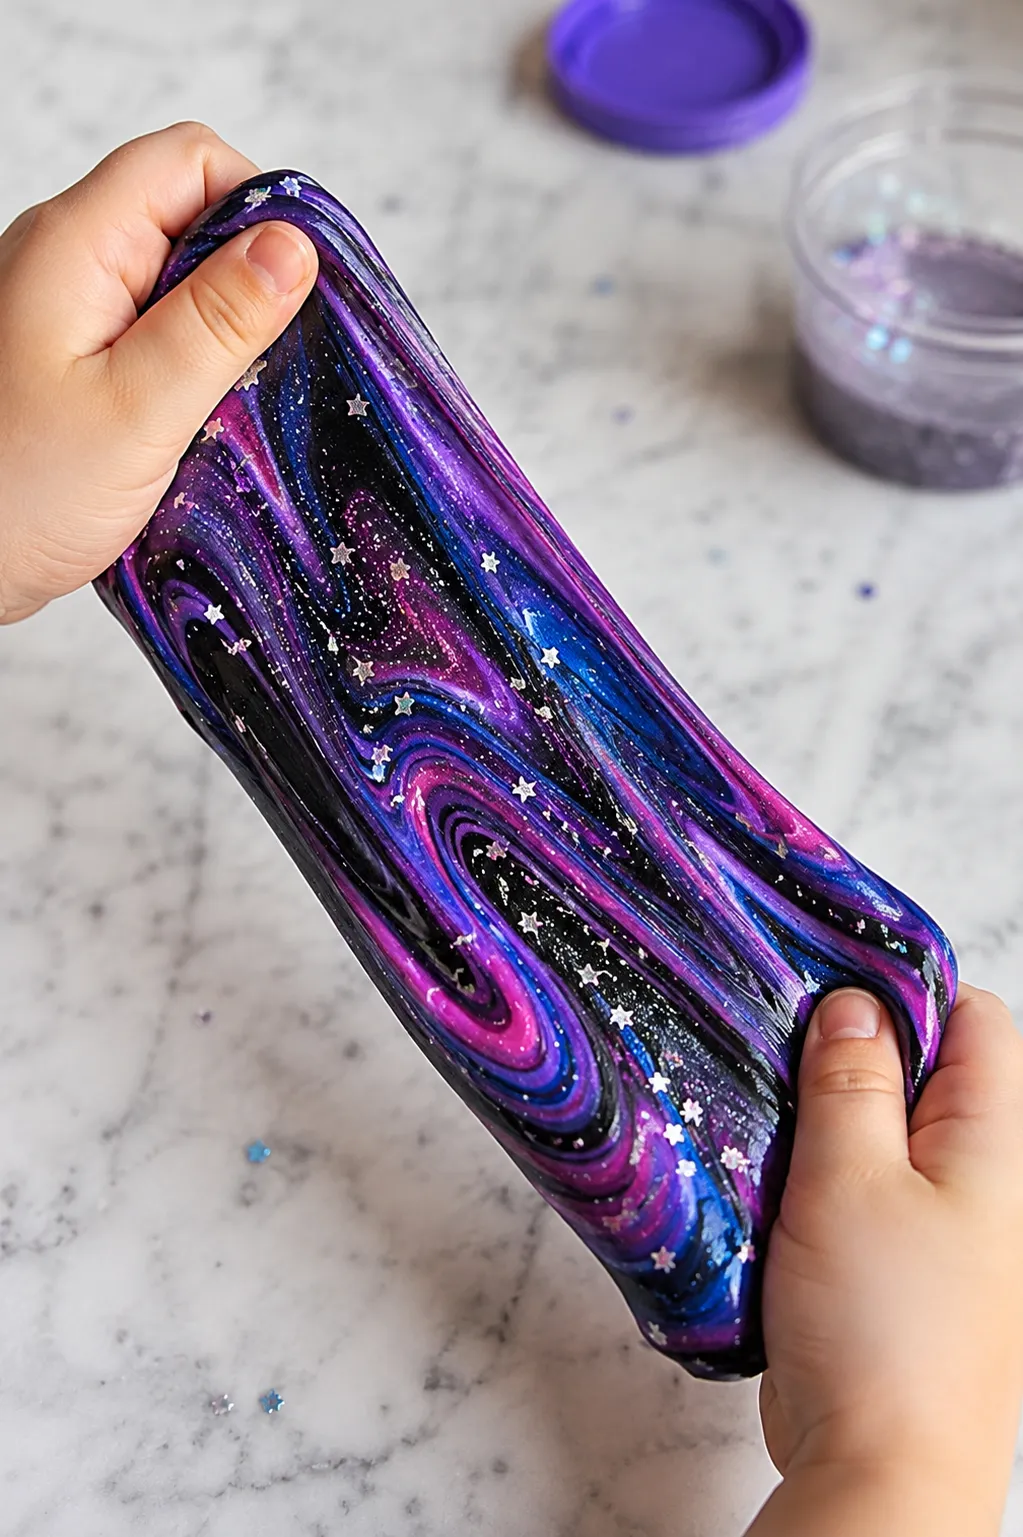
Galaxy slime is the version that makes people stop scrolling. Deep purple, midnight blue, and black swirled together with holographic glitter catching light from every angle produces something that genuinely looks like a piece of space captured in a jar rather than a craft made from school glue on a Tuesday afternoon.
What separates a galaxy slime that looks spectacular from one that just looks like muddy purple comes down to color selection, glitter choice, and swirl technique. Get those three things right and the result is genuinely impressive. Here’s the full process.
What You’ll Need
- 1 cup of clear PVA school glue, divided between colors
- 1 teaspoon of baking soda per color batch
- Contact lens solution containing boric acid
- Gel food coloring or liquid watercolors in deep purple, midnight blue, and black
- Holographic glitter in silver, purple, and blue (fine glitter for the base, chunky holographic for the surface)
- Iridescent or aurora shimmer pigment powder (optional but makes a significant difference)
- Glow in the dark pigment powder (optional, for a dramatic reveal under blacklight)
- A separate mixing bowl for each color
- A wide display jar or container for layering
- Airtight containers for storage
Why Clear Glue Works Better for Galaxy Slime
Galaxy slime specifically benefits from a clear glue base rather than white glue for one important reason: depth. The translucency of clear slime allows glitter and shimmer pigment to catch light from within the slime rather than just sitting on the surface, which creates that genuine sense of depth and dimension that makes galaxy slime look so convincing. A white glue base makes the colors more opaque and the glitter sits on top rather than appearing to float within the slime.
The tradeoff is that clear glue slime takes 24 to 48 hours in a sealed container to fully clear after making, so plan for that rest period before the final layering if you want the most impressive visual result.
Choosing Galaxy Slime Colors
The color palette is what makes or breaks galaxy slime. Real galaxy images use a specific combination of deep, rich tones that work together in a way random color combinations don’t.
The most effective galaxy color combinations are:
- Classic galaxy: Deep purple, midnight blue, and black with silver glitter
- Nebula galaxy: Magenta, deep teal, and dark blue with pink and gold glitter
- Aurora galaxy: Deep green, purple, and dark teal with holographic silver glitter
- Rose gold galaxy: Deep burgundy, copper, and black with rose gold glitter
Avoid using more than three to four colors in a single batch. More than four tends to blend into a uniform dark purple-brown rather than maintaining the distinct color zones that make galaxy slime look like space.
How to Make Galaxy Slime Step by Step
Making Each Color Batch
Each color is its own individual slime batch made separately before layering. Work through these steps for each color one at a time.
- Divide the clear glue evenly between your mixing bowls, one bowl per color.
- Add gel food coloring to each bowl and stir until the color is fully distributed. Use significantly more coloring than feels necessary, since clear glue dilutes color heavily and a pale galaxy slime doesn’t have the right visual impact.
- Add fine glitter and shimmer pigment to each bowl at this stage, since mixing them into the liquid glue distributes them more evenly than adding to formed slime.
- Add one teaspoon of baking soda to each bowl and stir thoroughly until no powder remains.
- Add contact lens solution to the first color one teaspoon at a time, stirring continuously after each addition.
- Continue adding solution gradually until the mixture pulls away from the bowl sides and forms a cohesive mass.
- Knead the slime for two to three minutes until smooth and non-sticky.
- If stickiness remains, add contact lens solution one drop at a time while kneading until resolved.
- Place the finished batch in a sealed container and repeat for every remaining color.
- Allow each color to rest sealed for a minimum of 24 hours before layering for the clearest, most visually striking result.
Layering the Galaxy Slime
- Press the first color into the bottom of the display jar or container, flattening it into an even layer.
- Add the next color directly on top, pressing flat before adding the following layer.
- Continue until all colors are layered.
- Insert a skewer or chopstick and drag it through all the layers in three to five slow strokes, pulling color from the bottom up through the top.
- Rotate the container slightly and make two or three additional drag strokes at a different angle.
- Stop swirling. Overworking the swirl is what turns galaxy slime into uniform purple, and it happens faster than you’d expect.
- Sprinkle chunky holographic glitter across the surface for a finishing layer that catches light differently from the fine glitter already inside the slime.
Making It Glow: The Blacklight Version
This is the single most dramatic upgrade possible for galaxy slime and costs almost nothing extra.
Mix glow in the dark pigment powder into one or two of the color batches, particularly the purple or blue batch, during Step 3 of making each color. The powder is available in green, blue, and aqua tones and is widely sold at craft stores and online.
Under normal light, the finished galaxy slime looks identical to a standard batch. Under a UV blacklight, the glow pigment lights up in a way that genuinely looks like a glowing nebula. Set up a blacklight and reveal it to kids after the slime has been played with in normal light for maximum impact.
Getting the Glitter Right
Glitter choice makes more difference to the final result than almost anything else in this recipe.
- Fine holographic glitter mixed into the glue base creates depth and dimension within the slime itself, as if light is coming from inside the slime rather than just reflecting off the surface.
- Chunky holographic glitter added to the surface of the finished layered slime creates larger, more visible sparkle points that catch overhead light dramatically.
- Iridescent shimmer pigment powder mixed into the glue base gives the slime a color-shifting quality where the apparent color changes slightly depending on the angle, which is particularly effective in the purple and blue batches.
- Star and moon confetti in gold or silver pressed onto the surface adds a finishing detail that commits fully to the space theme.
Using all three at once, fine glitter in the base, shimmer pigment through the slime, and chunky glitter on the surface, produces the most visually complex, genuinely cosmic result.
Quick Fixes for Common Problems
| Problem | Potential Solution | Alternative Approach |
|---|---|---|
| Colors blended into uniform dark purple immediately | Let each batch rest and cool in sealed containers for 24 hours before layering | Make each batch slightly firmer by adding an extra drop of activator so colors resist blending longer |
| Slime looks murky rather than deep and jewel-toned | Clear glue slime needs 24 to 48 hours sealed to fully clear—be patient before judging the result | Make sure clear glue was used rather than white, which never achieves the required transparency |
| Glitter is sinking to the bottom of the slime | Mix glitter into the liquid glue before activating rather than adding to formed slime | Use chunky glitter rather than fine for better suspension within the slime base |
| Colors look washed out rather than deep | Gel food coloring is necessary for deep saturated color in clear slime—switch from liquid food coloring | Add significantly more coloring than seems right, since clear slime requires more pigment than white slime to achieve the same visual intensity |
| Black batch is turning the whole slime grey | Black is a very dominant color—use significantly less black than the other colors in the recipe | Replace pure black with a very deep navy or dark charcoal for a less overwhelming dark tone |
| Swirl disappeared and colors fully blended | Only three to five drag strokes maximum to achieve visible swirl—overcorrecting is what blends everything | Remake with firmer batches that resist blending and swirl even more minimally |
| Glow pigment not glowing visibly | The slime needs to be charged under a bright light or direct sunlight for at least 60 seconds before entering darkness | Use a UV blacklight rather than just turning off room lights, since blacklight produces a much more dramatic glow effect |
How to Store Galaxy Slime
- Store each color batch separately in individual airtight containers to preserve the swirl for next time.
- If stored already layered, colors will continue slowly blending at the boundaries even without play.
- Clear glue galaxy slime stored properly stays in good condition for two to three weeks.
- Avoid refrigeration since it changes the texture of clear glue slime in ways that are difficult to reverse.
- If the slime deflates or loses body after storage, knead in a small amount of fresh clear glue to restore stretch and volume.
FAQs
Why does my galaxy slime look cloudy even after resting?
Clear glue slime needs to rest completely undisturbed in a fully sealed airtight container for 24 to 48 hours. Even briefly opening the container and kneading during this period reintroduces air bubbles and resets the clearing process. Leave it completely alone for the full rest period.
Can I make galaxy slime with white glue instead of clear?
You can, but the result looks quite different. White glue produces a more opaque, pastel-toned version that doesn’t have the depth and translucency that makes galaxy slime so visually striking. If white glue is all you have, use it, but the deep jewel-tone galaxy effect specifically requires clear glue.
How many colors should galaxy slime have?
Three is the minimum for a convincing galaxy effect, and four is the sweet spot for most people. Sticking to three or four colors with contrasting tones, such as purple, blue, and black, produces cleaner swirl definition than five or six colors, which tend to blend into a single muddy tone.
Does galaxy slime work as a gift?
It’s one of the best slime types for gifting precisely because it looks so impressive in a clear jar. Layer the colors in a wide-mouthed mason jar, add chunky glitter on top, seal with a lid, and the recipient gets to make the first swirl themselves, which is a genuinely satisfying unboxing experience.
Can I add foam beads to galaxy slime?
Yes. Galaxy floam combines the color and glitter depth of galaxy slime with the squishy crunchy texture of floam. Use dark colored or black foam beads to maintain the cosmic color palette, and add them during the kneading stage of each individual color batch before layering.
Conclusion
Galaxy slime earns its status as one of the most visually striking slime types because when the colors, glitter, and swirl technique all come together correctly, the result genuinely looks like nothing else in the slime category. Use clear glue, invest in proper holographic and shimmer glitter, go deeper with the colors than feels natural, and stop swirling before you think you need to. Let it rest, reveal it under a blacklight if you made the glow version, and watch the reaction when someone sees it for the first time.
Enjoyed this project? Get even more DIY ideas that save (and make) you money.
Join our free newsletter for profitable DIY projects, clever cleaning hacks, home ideas, and creative crafts delivered straight to your inbox.
✓ Free forever • No spam • Unsubscribe anytime