
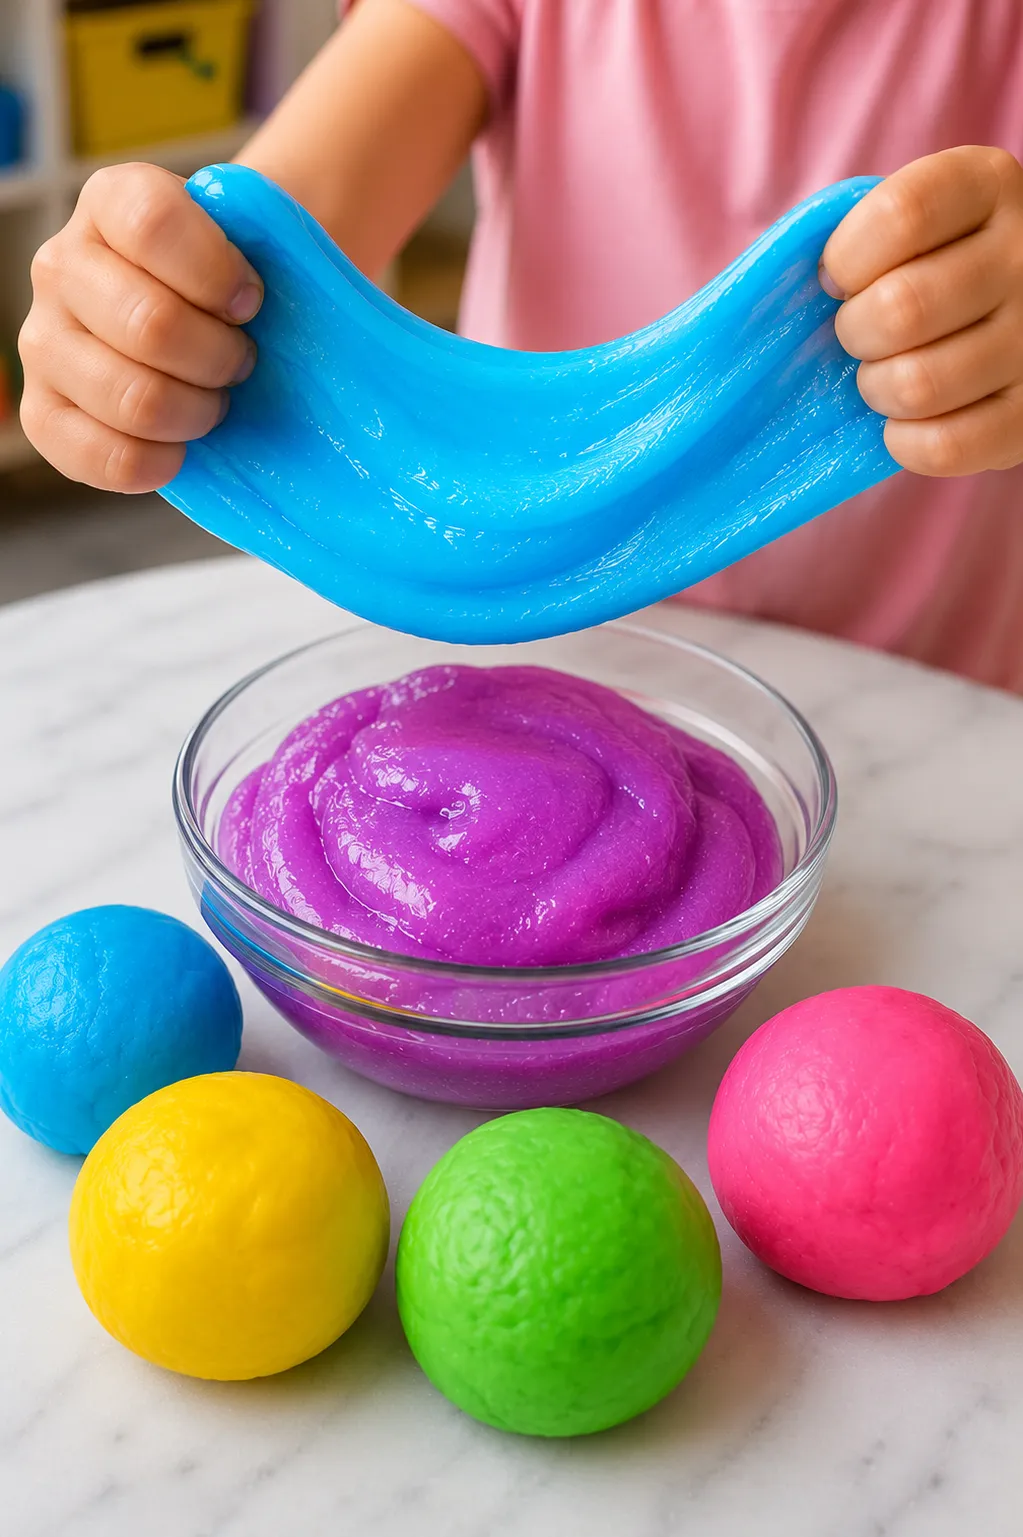
This is one of those questions that comes up constantly in the slime-making community, usually from someone who has a lot of playdough on hand and wants to skip buying glue. The honest answer is that playdough and slime are fundamentally different materials made from different chemistry, which means you can’t turn one directly into the other the way you might expect. But you can transform playdough into something that behaves very much like slime with a few specific additions, and the process itself is a genuinely interesting sensory and science experiment worth trying.
Here’s exactly what happens when you try different methods, which ones actually work, and how to get the best slime-like result from playdough you already have.
Why Playdough and Slime Are Different
Understanding the chemistry helps set the right expectations before starting.
Standard slime is a non-Newtonian fluid made from PVA glue cross-linked by a borate activator. The cross-linking creates a polymer network that flows slowly, stretches, and returns to its shape. It’s a liquid that behaves like a solid under pressure.
Playdough is a water-based modeling compound made primarily from water, salt, and flour, with additional binders and softeners. It’s a solid that can be shaped and molded but doesn’t flow or stretch the way slime does. The salt in playdough is actually a preservative and texture modifier that works against the stretchy, flowing quality you want in slime.
What this means practically is that no method transforms playdough into true slime with exactly the stretch and flow of a glue-based recipe. What you can achieve is a softer, stretchier, more slime-adjacent material that has some of the sensory qualities of slime while still carrying the texture characteristics of playdough underneath.
Method 1: Playdough and Lotion (Softest Result)
This is the simplest method and the one that produces the most immediately noticeable texture change. Lotion acts as a plasticizer on the playdough, softening it significantly and making it more pliable and stretchy than it normally is.
What You’ll Need
- A portion of playdough, roughly a golf-ball-sized amount to start
- Fragrance-free lotion, two to three tablespoons
- A flat surface for kneading
How to Make It
- Flatten the playdough portion on a clean surface.
- Add a small amount of lotion, roughly a teaspoon to start, directly onto the flattened playdough.
- Fold the playdough over the lotion and begin kneading, working the lotion into the dough.
- The playdough will initially resist the lotion and feel slippery, but continued kneading works the lotion through the material.
- Continue adding lotion a teaspoon at a time, kneading between each addition, until the playdough has softened significantly and takes on a more pliable, almost putty-like quality.
- Keep adding lotion gradually until the texture shifts from firm modeling dough to something noticeably softer and more stretchy.
The result is a significantly softer version of playdough with more stretch than the original. It won’t flow like slime or form strings when stretched the way glue-based slime does, but it becomes noticeably more slime-adjacent than the starting material and has a pleasant, soft quality that many kids enjoy.
Method 2: Playdough and Contact Lens Solution (Most Slime-Like Result)
This method attempts to introduce borate cross-linking into the playdough by adding contact lens solution directly to the material. Since playdough contains water and some polymer content from its binders, adding a borate activator does produce some cross-linking that makes the material behave more like slime.
What You’ll Need
- Playdough, a golf-ball-sized portion
- Contact lens solution containing boric acid
- A few drops of water
- A mixing bowl
How to Make It
- Break the playdough into small pieces and place them in a mixing bowl.
- Add a few drops of water to the playdough pieces and begin working them together, since softening the playdough with water first makes the contact lens solution easier to incorporate.
- Once the playdough has softened slightly from the water, add contact lens solution one teaspoon at a time, kneading continuously.
- The playdough will begin to soften and change texture as the borate activator works through the material.
- Continue adding contact lens solution gradually, assessing the texture after each addition, until the material feels notably softer, stickier, and more fluid than the starting playdough.
- The finished material won’t be as stretchy or flowing as standard glue-based slime but will have a noticeably more slime-like quality than either the starting playdough or the lotion method alone produces.
Method 3: Playdough Combined With Real Slime (Hybrid Method)
This is the most effective method for getting genuinely slime-like results from playdough, and it’s because you’re not trying to convert playdough into slime but rather using it as an add-in to a real slime base, similar to how clay is used in butter slime.
Adding playdough to a standard slime base changes the texture of the slime significantly, producing a softer, more spreadable, butter-slime-like material where the playdough provides body and the glue-based slime provides the stretch and flow.
What You’ll Need
- ½ cup of clear or white PVA school glue
- ½ teaspoon of baking soda
- 1 tablespoon of contact lens solution
- A golf-ball-sized piece of playdough
- Food coloring (optional)
How to Make It
- Make a standard slime base first by combining the glue, baking soda, and contact lens solution following the standard slime recipe until the slime is fully activated and non-sticky.
- Break the playdough into small pieces and flatten them.
- Knead the playdough pieces into the finished slime a few at a time, working them in thoroughly between additions.
- Continue adding playdough and kneading until fully incorporated and the two materials have merged into a single, cohesive material.
- The finished hybrid slime will feel softer and more spreadable than standard slime, with the stretched texture of slime but a less flowing, more substantial body from the playdough content.
This is essentially the same principle as butter slime, where model magic clay is kneaded into standard slime to produce a softer, more spreadable texture. Playdough produces a similar effect and is a genuinely good butter slime substitute if model magic isn’t available.
Method 4: Melted Playdough Slime
Heating playdough softens it significantly and changes its texture in ways that make it temporarily much more pliable and slime-adjacent. This method requires adult supervision and produces a result that’s interesting while warm but returns toward standard playdough texture as it cools.
What You’ll Need
- Playdough
- A microwave-safe bowl
- Water, a few tablespoons
- Lotion or contact lens solution
How to Make It
- Place a portion of playdough in a microwave-safe bowl with two tablespoons of water.
- Microwave for fifteen to twenty seconds. The playdough will soften and the water helps prevent it from drying out during heating.
- Remove carefully since the bowl and playdough may be hot, and allow to cool for one to two minutes until safe to handle.
- Work the softened playdough with your hands while it’s still warm, since it’s significantly more pliable at this temperature.
- Add lotion or contact lens solution to the warm playdough and knead through, since the warm material accepts these additions more readily than cold playdough.
- Work with it while warm for the most slime-like experience, understanding that the texture will firm back toward normal playdough as it cools.
Method 5: Playdough and Dish Soap Method
Adding dish soap to playdough produces a slightly different texture change from lotion, giving the material a slightly more fluid, slippery quality that’s distinctly different from the standard playdough feel.
What You’ll Need
- Playdough
- A few drops of dish soap
- A small amount of warm water
How to Make It
- Flatten the playdough and add two to three drops of dish soap directly onto the surface.
- Add a few drops of warm water to help work the soap into the material.
- Knead thoroughly, working the soap and water evenly through the playdough.
- The material will become noticeably softer, slightly stickier, and more fluid than standard playdough.
- Add a very small amount of additional water if the mixture feels too stiff, kneading between additions.
The dish soap method produces a result that’s slightly stickier than the lotion method and slightly more fluid, sitting somewhere between the two in terms of slime-like quality.
What to Realistically Expect
Setting honest expectations before trying any of these methods makes the experience more satisfying rather than disappointing.
None of these methods produce a result identical to standard glue-based slime. The salt content of playdough, its flour-based structure, and the fundamental difference in chemistry mean that what you get is always a playdough-slime hybrid rather than pure slime.
What you do get is genuinely interesting in its own right. The softened, more pliable materials these methods produce have their own sensory qualities that are worth exploring even if they don’t match the stretch and flow of glue slime exactly. The hybrid method using real slime as the base produces the closest result to actual butter slime of any option here.
The process of trying these methods is also an interesting experiment in material science that’s worth framing as an exploration for older kids, since observing what happens when different substances are combined and why the results are what they are is genuinely educational.
Tips for Getting the Best Result
- Start with fresh, soft playdough. Dried out or stiff playdough takes longer to transform and never reaches as slime-like a result as fresh, soft playdough that’s still at its most pliable.
- Work in small additions regardless of which method you use. Every method works better with gradual additions and thorough kneading between each one rather than adding everything at once.
- Use the hybrid method for the most slime-like result. If the goal is something that genuinely behaves like slime, combining playdough with a real slime base as in Method 3 produces far better results than trying to convert playdough alone.
- Warm hands help. Body heat softens playdough and makes it more receptive to any additions. Kneading the playdough thoroughly with warm hands for a minute before starting any method produces better results than starting with cold, stiff playdough.
- Keep the surface slightly dampened during kneading to prevent the playdough from drying out during the transformation process, since playdough loses moisture during extended kneading which works against the softening you’re trying to achieve.
Quick Fixes for Common Problems
| Problem | Potential Solution | Alternative Approach |
|---|---|---|
| Playdough is too dry and crumbly to work with | Knead in a few drops of water first before adding lotion or contact lens solution | Warm briefly in the microwave with a few drops of water for 10 to 15 seconds to restore pliability |
| Lotion making playdough greasy rather than soft | The lotion hasn’t been fully kneaded in—continue working for several more minutes until absorbed | Switch to a thinner lotion or reduce the amount used per addition |
| Contact lens solution making playdough too sticky | Add a tiny pinch of baking soda while kneading which helps the borate activate more effectively | Reduce the amount of contact lens solution in next addition since slightly less is needed for playdough than for glue |
| Hybrid slime feels lumpy from playdough pieces | Knead longer and more thoroughly until the playdough and slime base fully merge | Break playdough into smaller pieces before adding and work them in very gradually |
| Result feels more like soft playdough than slime | This is the realistic outcome of most methods—the hybrid method produces the most genuinely slime-like result | Make a standard slime base and use the playdough as an add-in rather than trying to convert playdough alone |
| Colors from multiple playdough colors blending to brown | Use playdough pieces of similar or complementary colors rather than mixing colors that blend to muddy tones | Embrace the mixed color result as a feature and add glitter to elevate the finished material visually |
| Playdough dried out quickly after transformation | The methods all add moisture that can evaporate faster than in standard playdough—store in airtight container | Add a few drops of water and knead before next play session to restore moisture lost during storage |
When It Makes More Sense to Just Make Real Slime
These methods are worth trying when playdough is what you have available and buying slime ingredients isn’t immediately practical. But if genuine slime is the goal and the choice is available, making a standard slime from glue, baking soda, and contact lens solution will always produce a better result than converting playdough.
The playdough conversion methods are most valuable as a science experiment exploring what happens when materials are combined and why, as a way of using up old playdough that’s dried out or lost its appeal in standard form, and as an emergency slime substitute when standard materials aren’t on hand.
FAQ
Can I make playdough into slime without contact lens solution?
Yes. The lotion method and dish soap method both produce slime-adjacent results without any contact lens solution at all. These are better choices for very young children or anyone wanting to avoid boric acid entirely. The results are less slime-like than the contact lens solution method but still produce a noticeably softer, more pliable material than the starting playdough.
Does homemade playdough work better than store-bought for this?
Sometimes, yes. Homemade playdough can be made with slightly different ratios that affect how receptive the material is to the transformation methods. The lotion method in particular works well on homemade playdough that uses a cream of tartar base since this version tends to be slightly more pliable than commercial versions. The lack of heavy preservative salt in some homemade recipes also makes the material more responsive to borate cross-linking in the contact lens solution method.
Can I make playdough into slime without any extra ingredients?
Not in any meaningful way. Playdough alone doesn’t have the polymer chemistry needed to produce slime behavior. All five methods above rely on adding at least one ingredient to change the material’s properties, and skipping that step just leaves you with playdough regardless of how long you knead it.
Will the result work for slime videos and satisfying slime content?
Honestly, the result from making playdough into slime doesn’t produce the same visual and textural results as standard slime for content purposes. The hybrid method comes closest but even that produces butter-slime-style content rather than the stretchy, flowing slime that performs best on video. If creating slime content is the goal, making standard slime from glue is worth the extra step.
Is it safe to mix different colored playdoughs when making playdough into slime?
The safety is identical regardless of color since all standard playdough colors use the same base formula with different dyes. The aesthetic result of mixing multiple colors depends on which colors are combined, since mixing complementary colors on the color wheel produces brown or gray results while mixing analogous colors produces more attractive blended tones.
To Conclude
Making playdough into slime genuinely works, just not in the perfect one-to-one transformation most people hope for. The lotion method produces the softest, most pliable result from playdough alone. The contact lens solution method produces the most genuinely slime-like behavior. The hybrid method combining playdough with a real slime base produces the best of both worlds and is the closest thing to actual slime any of these approaches achieves. Try them as experiments, use the hybrid method when you want a butter-slime-like result, and approach the whole thing as a material science exploration rather than expecting a perfect conversion from one material to the other.
Enjoyed this project? Get even more DIY ideas that save (and make) you money.
Join our free newsletter for profitable DIY projects, clever cleaning hacks, home ideas, and creative crafts delivered straight to your inbox.
✓ Free forever • No spam • Unsubscribe anytime




