
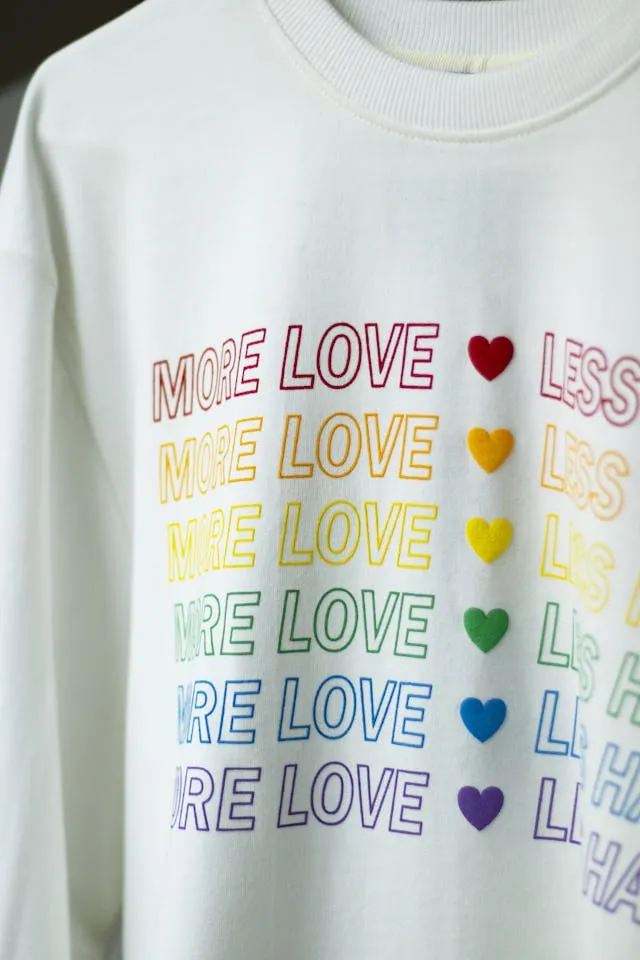
Custom T-shirts are one of those Cricut projects that look complicated but really aren’t, once someone explains it properly. The process has maybe five variables that actually matter—everything else is just details. Get those five things right and you’ll be making clean, professional-looking shirts on your first try. Get them wrong and you’ll be peeling vinyl off a ruined tee wondering what happened.
This guide skips the fluff and covers everything you need: what to buy, what settings to use, the full step-by-step, and why some designs fall apart after two washes.
What You Need (and What’s Actually Worth Buying)
The machine: Cricut Explore Air 2, Explore 3, or Maker all handle T-shirt projects fine. The Maker’s extra cutting force matters for thick materials, but for standard heat transfer vinyl, any of these will do. Don’t let the machine choice hold you up—start with whatever you have.
Heat Transfer Vinyl (HTV): This is the one material where buying the wrong thing will waste your time. HTV is specifically made for fabric—it has a heat-activated adhesive that bonds to fibers. Regular adhesive vinyl is for hard surfaces like mugs and tumblers. They look similar in the store, so read the label. The main HTV types you’ll actually use:
- Standard smooth HTV — the right choice for most cotton T-shirts; clean finish, easy to weed, holds up well in the wash
- Glitter HTV — fun for gifts and kids’ shirts, but avoid designs with tiny details since glitter doesn’t cut as crisp
- Stretch HTV — essential for athletic fabrics and anything with spandex; regular HTV cracks on stretchy material
- Holographic or foil HTV — looks great but it’s stiffer and less forgiving, so save it for simpler designs
A weeding tool: A cheap one works fine. You just need the fine hook tip to pull away the cut-out vinyl pieces without tearing your design.
Heat source: A heat press is worth buying if you’re making more than a handful of shirts—it gives you consistent, even temperature across the whole design. A household iron can work but it’s genuinely frustrating: uneven pressure, hot spots, and cool edges that don’t bond properly. If you use an iron, use the cotton setting, no steam, and press firmly in sections without sliding.
An EasyPress mat or folded towel: Something under your shirt during pressing. A hard table alone gives too much bounce-back and uneven adhesion.
The shirt itself: 100% cotton is the easiest to work with. Cotton-poly blends are fine but need slightly lower heat so the polyester doesn’t scorch or cause what’s called “ghosting” (a shiny residue from the heat). Pure polyester is tricky—if you’re going that route, use stretch HTV and lower your temperature.
The One Mistake Almost Every Beginner Makes
Before you cut anything, you need to understand the mirror setting—and why forgetting it will ruin your project.
HTV goes onto the shirt face-down, meaning the colored side presses against the fabric. So when you cut it, the design has to be reversed—otherwise when you flip it onto the shirt, all your text reads backwards. It sounds obvious when you’re reading about it. It’s not obvious at 11pm when you’re rushing to finish a birthday gift.
In Cricut Design Space, on the “Prepare” screen right before you cut, there’s a Mirror toggle. Turn it on. Make it the last thing you check before every single cut.
Step-by-Step: Making a T-Shirt with Cricut
Step 1: Create or upload your design in Design Space. Use the built-in fonts and shapes, or upload an SVG file from somewhere like Creative Fabrica or Design Bundles. For your first shirt, pick something with thick lines and not too many tiny pieces—it’ll be much easier to weed.
Step 2: Size it correctly for the shirt. Hold a ruler against the actual shirt and measure the chest area where the design will go. For an adult tee, most chest designs sit comfortably between 10 and 12 inches wide. Resize in Design Space to match.
Step 3: Set the correct material in Design Space. Click “Change” under material settings and select the specific HTV you’re using. “Everyday Iron-On” for standard Cricut HTV, for example. Each type has its own blade depth and cutting speed—using the wrong setting can cause incomplete cuts or tears.
Step 4: Turn on Mirror before you cut. On the Prepare screen, flip the Mirror toggle on. Confirm the design looks reversed in the preview. Then cut.
Step 5: Load the HTV onto the mat correctly. Shiny liner side down on the mat, matte colored side facing up. The machine cuts through the vinyl but leaves the clear carrier sheet intact.
Step 6: Let it finish cutting completely before removing the mat. Don’t pull the material off early. Let the blade fully retract, then unload.
Step 7: Weed the design. Use your weeding tool to remove all the vinyl that’s not part of your design. Work slowly around small letters. Hold the carrier sheet flat with one hand while pulling excess vinyl away with the other—rushing this step tears things.
Step 8: Pre-heat the shirt for 5 seconds. Press your shirt blank before placing the design. This drives out any moisture or wrinkles that would prevent the vinyl from bonding evenly.
Step 9: Position the design on the shirt. Place it vinyl-side down on the fabric, carrier sheet still on. To center it: fold the shirt in half vertically, crease it lightly, unfold, and align the design along that center line.
Step 10: Press with heat. Follow the time and temperature specs for your specific HTV—these vary. Cricut’s Everyday Iron-On is 315°F for 30 seconds with medium pressure. If you’re using a different brand, check their spec sheet; some HTV bonds at lower temps and over-pressing can make it look shiny and plasticky.
Step 11: Peel the carrier sheet. Most standard HTV is a warm peel—wait about 5–10 seconds after pressing, then peel slowly from one corner. Some specialty vinyl requires a cold peel, meaning you wait until it’s fully cooled. This is on the packaging—check it before you press, not after. Peeling at the wrong temperature is how edges lift.
Step 12: Final press. Lay a piece of parchment paper or a Teflon sheet over the design and press again for 10–15 seconds. This seals any edges that lifted during peeling and locks the whole thing down.
HTV Quick Reference
| HTV Type | Best For | Peel | Wash Durability |
|---|---|---|---|
| Standard smooth | Cotton tees, everyday use | Warm | Excellent |
| Glitter | Gifts, statement pieces | Warm | Good |
| Stretch | Athletic, spandex blends | Cold | Excellent |
| Holographic/foil | Special occasions | Cold | Moderate |
| Printable HTV | Photos, multi-color gradients | Warm | Good |
Stop Doing This to Your Finished Shirts
You did everything right pressing the shirt—and then the design starts peeling or cracking after a few washes. Here’s what’s killing it:
Washing in warm or hot water. Cold water only. Hot water breaks down the adhesive bond faster than anything else.
High heat in the dryer. Low heat or air dry. A hot dryer is the single most common reason HTV cracks within the first month.
Not turning the shirt inside out. Every wash, inside out. It protects the design from rubbing against other clothes in the drum.
Ironing directly on the design. If the shirt wrinkles, iron it inside out, or put a pressing cloth between the iron and the vinyl.
When Things Go Wrong
Edges are peeling after pressing: Usually means not enough pressure, temp was too low, or you peeled too fast. Re-press with a Teflon sheet for 15 seconds.
Vinyl won’t stick at all: The shirt probably had residual moisture or fabric softener on it. Pre-heat longer next time, and know that fabric softener leaves a coating that HTV hates.
Design looks shiny and thick: You over-pressed it—reduce time by 5–10 seconds next round.
Tiny letters tore during weeding: Either the blade is dull or cut pressure was too low. Replace the blade and run a small test cut before committing to a full sheet.
FAQ
Can I use a Cricut Joy for T-shirts? Yes, but the Joy’s cutting width maxes out at 4.5 inches (or 6.25 inches with Smart Iron-On without a mat), so it’s limited to small logos or pocket-placement designs—not great for full chest prints.
Do I need a Cricut Access subscription? No. Design Space is free and you can upload your own SVG files without a subscription. The subscription unlocks fonts and designs inside the app, but it’s not required to use your machine.
How long do the designs actually last? With cold-water washing and low-heat drying, quality HTV should hold up for 50+ washes without cracking. If yours is failing sooner, washing habits are usually the culprit.
Can I layer multiple HTV colors? Yes. Press each color separately starting from the bottom layer, and drop your temperature slightly on each subsequent layer to avoid scorching what’s already on the shirt.
Wrapping Up
The learning curve on Cricut T-shirts is genuinely short. Most people overthink it before they start, then realize on shirt two or three that the whole thing clicks pretty fast. The mirror setting, the right HTV for your fabric, correct heat and pressure, and cold-water washing—that’s really the whole game. Nail those and you’ll have shirts that hold up and look like you paid someone to make them.
Enjoyed this project? Get even more DIY ideas that save (and make) you money.
Join our free newsletter for profitable DIY projects, clever cleaning hacks, home ideas, and creative crafts delivered straight to your inbox.
✓ Free forever • No spam • Unsubscribe anytime




