
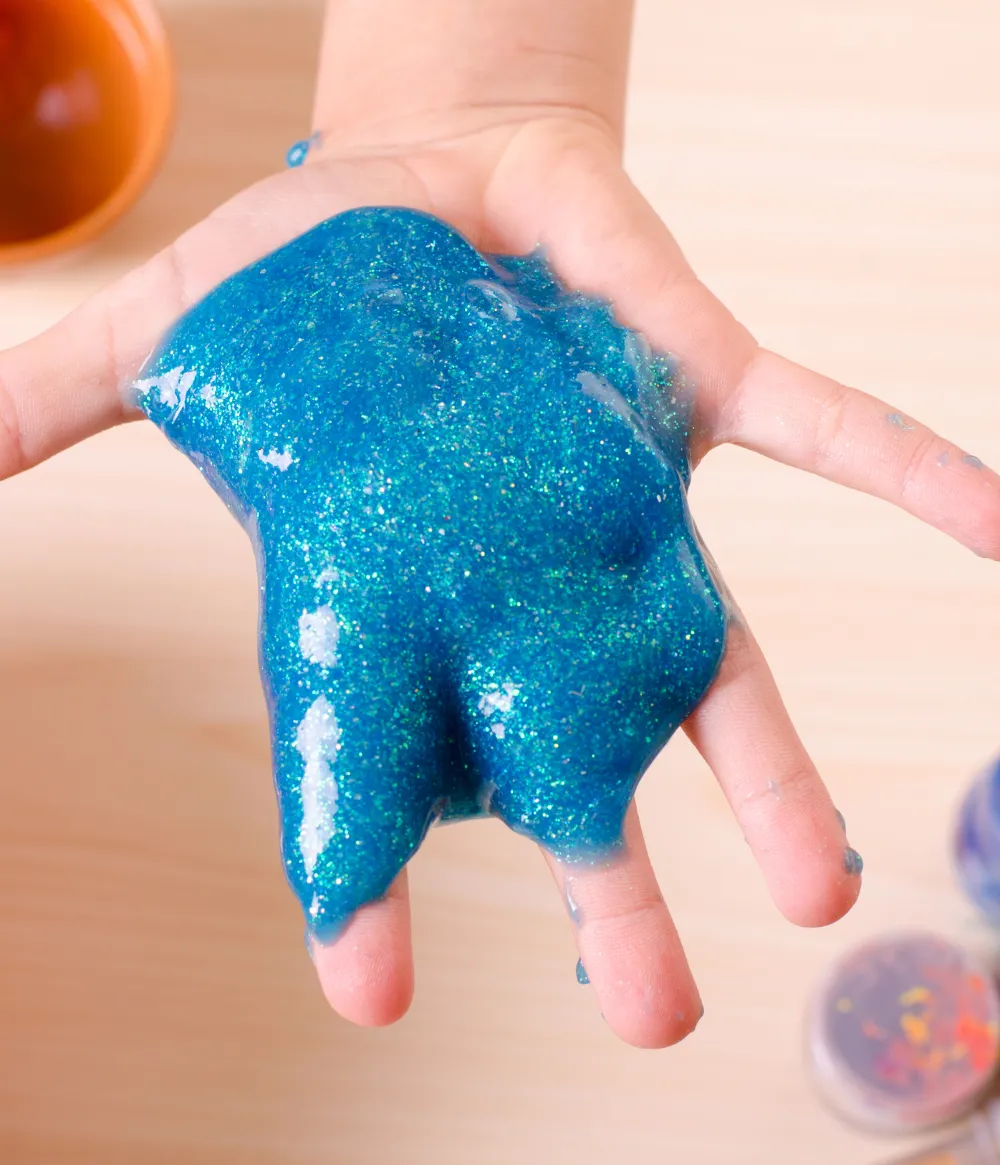
Regular slime is one of the most popular kids’ activities around, but for children with sensitive skin or eczema, the standard recipe is often a problem. Contact lens solution contains boric acid, which can irritate compromised skin barriers. Certain dyes and fragrance additives trigger reactions in kids who are already prone to flares. Even the glue itself can cause issues in children with particularly reactive skin. The result is that a lot of kids with eczema end up watching other kids make slime while being told they can’t join in.
The good news is that sensitive skin doesn’t have to mean no slime. It means choosing different ingredients, being thoughtful about what goes in, and understanding which textures and recipes work best without the most commonly irritating components. Here are six recipes designed specifically with sensitive and eczema-prone skin in mind, along with everything you need to know about ingredient safety before starting.
Understanding Why Regular Slime Irritates Sensitive Skin
Before getting into recipes, it helps to understand which standard slime ingredients tend to cause problems and why, since that knowledge applies across every recipe below.
Boric acid (found in contact lens solution and borax) is the most commonly cited irritant in standard slime recipes. It works as a slime activator by cross-linking glue molecules, but it also has a mildly acidic pH that can disrupt the skin barrier, particularly skin that’s already compromised by eczema. The National Eczema Association and dermatologists frequently flag boric acid as a potential trigger for skin reactions in sensitive individuals.
Artificial dyes including standard food coloring can trigger contact dermatitis in children with dye sensitivities. This is less common than boric acid reactions but worth noting, particularly for children who already react to synthetic dyes in other products.
Fragrance whether from fragrance oils, perfume, or scented shaving cream is one of the most common contact allergen categories for eczema-prone skin. Any slime containing fragrance ingredients should be approached with caution for children with known fragrance sensitivities.
Prolonged moisture exposure from water-based slimes keeps skin damp for extended periods, which can disrupt the skin barrier over time. This is less about specific ingredients and more about the nature of the activity itself, which is why drying hands thoroughly after play and applying moisturizer afterward is worth making a consistent habit.
General Safety Guidelines Before Starting
These principles apply across every recipe below and are worth following regardless of which specific recipe is chosen.
- Always do a patch test first. Apply a small amount of the finished slime to the inner wrist or the inside of the elbow and leave for 30 minutes before a full play session. If redness, itching, or any reaction develops, don’t use that recipe.
- Apply a barrier cream or moisturizer to the hands before play. A thin layer of a fragrance-free, eczema-safe moisturizer or barrier cream applied before touching slime significantly reduces the direct ingredient exposure to the skin surface.
- Keep play sessions to a reasonable length. Prolonged skin contact with any material, even safe ones, can trigger irritation in very sensitive skin. Thirty to forty-five minute play sessions with a hand wash and moisturizer application afterward is a reasonable structure.
- Always wash and moisturize hands immediately after play. Use a fragrance-free, gentle cleanser and follow immediately with a fragrance-free moisturizer to restore any moisture barrier disruption.
- Check every ingredient label. Even products that seem similar can have different formulations, and an ingredient that’s safe in one brand may not be in another.
- If in doubt, consult a dermatologist or allergist before introducing a new slime recipe to a child with severe eczema or known contact allergies.
Recipe 1: Liquid Starch Slime (No Boric Acid)
Liquid starch is one of the most effective boric acid-free activators available and produces a classic slime texture without the ingredient most commonly associated with skin reactions. This is the closest recipe to standard slime in terms of texture and play quality.
What You’ll Need
- 1 cup of white PVA school glue
- ¼ to ½ cup of liquid starch (Sta-Flo is the most widely available brand)
- Natural food coloring (optional, beetroot, turmeric, or spirulina-based colorings are gentler alternatives to synthetic dyes)
- A mixing bowl and spoon
- Airtight container for storage
How to Make It
- Pour the white glue into a mixing bowl.
- Add natural food coloring if using and stir until fully distributed.
- Add liquid starch two tablespoons at a time, stirring continuously after each addition.
- Continue adding starch and stirring until the mixture pulls away from the bowl sides and comes together as a single mass.
- Remove from the bowl and knead for two to three minutes until smooth.
- If stickiness remains, add a small amount of additional liquid starch one teaspoon at a time while kneading.
- Once smooth and non-sticky, the slime is ready.
Liquid starch produces a slightly firmer, less stretchy slime than boric acid-based recipes, and the texture is more reminiscent of putty than classic stretchy slime. It’s an excellent starter recipe for sensitive skin since the activator ingredient is significantly milder.
Recipe 2: Saline Solution and Baking Soda Slime (Reduced Boric Acid)
This recipe uses saline solution rather than standard contact lens solution, which typically contains significantly lower concentrations of boric acid than lens solution. It’s not boric acid free, but the concentration is substantially lower, making it a reasonable middle ground for children with mild sensitivities rather than severe reactions.
What You’ll Need
- 1 cup of white PVA school glue
- 1 teaspoon of baking soda
- 2 to 3 tablespoons of plain sterile saline solution (the kind sold for wound irrigation or contact lens rinsing, which typically has a lower boric acid concentration than standard contact lens solutions)
- Natural food coloring (optional)
How to Make It
- Pour the glue into a mixing bowl and add coloring if using.
- Add the baking soda and stir thoroughly until no powder remains.
- Add saline solution one tablespoon at a time, stirring well between additions.
- Continue until the slime comes together and is no longer sticky.
- Knead for two minutes until smooth.
Always check the specific saline solution label for boric acid content, since formulations vary between brands. Some saline solutions are completely boric acid free, and those are the best choice for this recipe.
Recipe 3: Psyllium Husk Slime (Completely Natural, No Glue)
Psyllium husk is a natural fiber supplement sold at most pharmacies and health food stores. When mixed with water and heated, it forms a gel with a slime-like consistency that’s completely free of synthetic ingredients, boric acid, glue, or artificial dyes. It’s the most genuinely skin-friendly option on this list and the best choice for children with multiple sensitivities or very severe eczema.
What You’ll Need
- 1 cup of water
- 2 tablespoons of psyllium husk powder
- Natural food coloring (optional)
- A small saucepan
- A spoon for stirring
How to Make It
- Combine the water and psyllium husk powder in a small saucepan and stir well.
- Add natural food coloring to the water mixture if using.
- Heat the mixture over medium heat, stirring continuously.
- As the mixture heats it will begin thickening noticeably, eventually becoming a clear or slightly tinted gel with a stretchy, slime-like consistency.
- Continue stirring over heat until the mixture reaches a thick, cohesive gel texture, typically four to six minutes.
- Remove from heat and allow to cool completely before handling, since the hot gel can cause burns.
- Once fully cooled, the slime is ready to play with.
Psyllium husk slime has a slightly different texture from glue-based slime, somewhat firmer and less stretchy, but genuinely gel-like and satisfying to handle. It dries out faster than glue-based slimes and is best stored in an airtight container, where it lasts three to five days before drying out significantly.
Recipe 4: Cornstarch and Conditioner Slime (No Glue, No Activator)
This recipe uses no glue and no chemical activator whatsoever. The combination of cornstarch and hair conditioner produces a soft, moldable dough-like material that behaves similarly to slime in that it flows slowly and returns to its shape when handled but without any of the chemical ingredients associated with skin reactions.
What You’ll Need
- 1 cup of cornstarch
- ¼ to ½ cup of fragrance-free, dye-free hair conditioner
- Natural food coloring (optional)
- A large mixing bowl
How to Make It
- Pour the cornstarch into the mixing bowl.
- Add natural food coloring to the conditioner separately and stir to combine before adding to the cornstarch, since adding color to dry cornstarch first makes it harder to distribute evenly.
- Add the colored conditioner to the cornstarch a small amount at a time, mixing with a spoon initially and then kneading with hands once the mixture starts coming together.
- Continue adding conditioner gradually until the mixture reaches a soft, smooth, slightly pliable consistency that holds together when squeezed.
- If the mixture is too dry and crumbly, add more conditioner a teaspoon at a time.
- If it feels too sticky, add a small amount of additional cornstarch.
This recipe produces a texture that’s closer to cloud dough or moldable putty than traditional slime, but many children prefer the softer, more solid texture specifically because it doesn’t coat the hands the way wetter slime does.
The conditioner choice matters significantly for sensitive skin. Choose a fragrance-free, dye-free conditioner and check the ingredient list for common skin sensitizers, since many standard conditioners contain fragrance or preservatives that can trigger reactions.
Recipe 5: Aloe Vera and Cornstarch Slime
Aloe vera gel has naturally soothing properties for skin, which makes it a particularly good base ingredient for sensitive skin slime. Combined with cornstarch, it produces a cool, slightly firm gel-like slime that feels gentle and calming on contact rather than the neutral or occasionally irritating feel of standard slime.
What You’ll Need
- ½ cup of pure aloe vera gel (not aloe-based lotion, but pure gel, either straight from a plant or sold in bottles at pharmacies with no added fragrance or color)
- 2 to 4 tablespoons of cornstarch
- Natural food coloring (optional)
- A mixing bowl
How to Make It
- Pour the aloe vera gel into a mixing bowl.
- Add natural food coloring if using and stir through the gel.
- Add cornstarch one tablespoon at a time, stirring thoroughly between each addition.
- Continue adding cornstarch and stirring until the mixture thickens into a cohesive, slightly stretchy gel.
- Knead gently with hands once the mixture has thickened enough to handle.
- Add more cornstarch if the mixture feels too sticky, or a few drops of water if it feels too stiff.
Aloe vera slime has a cool, smooth feel that many children with eczema find particularly pleasant. It’s not as stretchy or long-lasting as glue-based slime, but the skin-soothing properties make it a genuinely appealing choice for sensitive skin specifically.
Store in an airtight container in the refrigerator, where it stays fresh for three to four days. The cooled version straight from the fridge has an especially pleasant feel on skin and can double as a soothing sensory activity for children experiencing eczema-related discomfort.
Recipe 6: Oobleck (Cornstarch and Water, Absolute Minimum Ingredients)
Oobleck is as simple as slime gets, just cornstarch and water, with no glue, no activator, no dye, and no other ingredients. It behaves like a solid when pressure is applied and flows like a liquid when pressure is released, which makes it genuinely fascinating to play with and among the most sensory-rich substances you can make with two ingredients.
It’s not stretchy in the way standard slime is, but it provides the same kind of open-ended sensory engagement and is completely safe even for children with the most severe skin sensitivities.
What You’ll Need
- 2 cups of cornstarch
- 1 cup of water
- Natural food coloring (optional)
- A large bowl or sensory bin
How to Make It
- Add natural food coloring to the water if using and stir to distribute.
- Pour the cornstarch into the bowl.
- Add the colored water slowly to the cornstarch, stirring as you pour.
- Continue mixing until the oobleck reaches a consistency where it feels solid when you press it firmly and liquid when you let it rest.
- Adjust with a small amount of additional water if too stiff or additional cornstarch if too runny.
Oobleck is best used in a large shallow bin since it doesn’t hold a contained shape and spreads significantly during active play. It dries out and hardens relatively quickly but can be revived with a few drops of water at any point.
Quick Fixes for Common Problems
| Problem | Potential Solution | Alternative Approach |
|---|---|---|
| Liquid starch slime is too stiff | Knead in a small amount of water a few drops at a time until it softens | Use slightly less liquid starch in the next batch and build up more gradually |
| Psyllium husk slime dried out too fast | Store in a fully airtight container in the refrigerator and revive with a few drops of water before play | Make smaller batches more frequently rather than trying to extend a single batch |
| Cornstarch and conditioner mixture won’t come together | The conditioner may have too high a water content—try a thicker, creamier conditioner | Add cornstarch very gradually rather than all at once, since the ratio needs careful adjustment |
| Aloe vera slime is too runny | Add cornstarch one teaspoon at a time while stirring until it firms to the right consistency | Refrigerate the mixture for 30 minutes before kneading, since cold aloe gel holds structure better |
| Natural food coloring producing weak color | Natural colorings are significantly less vivid than synthetic ones—this is expected | Use more concentrated natural coloring, such as beet powder rather than beet juice, for stronger color |
| Skin reaction occurred despite using a sensitive recipe | Stop play immediately, wash hands with gentle fragrance-free cleanser, and apply prescribed or recommended moisturizer | Consult a dermatologist about specific ingredient triggers before trying any further recipes |
| Oobleck is too liquid and won’t behave right | Add cornstarch one tablespoon at a time until the mixture resists pressure when poked | The ratio of 2:1 cornstarch to water is a starting point—exact ratios vary slightly with different cornstarch brands |
Natural Coloring Options for Sensitive Skin Slime
Standard synthetic food coloring is best avoided for children with dye sensitivities. These natural alternatives provide color without synthetic dyes.
- Beet powder or beet juice — produces pink to deep red tones
- Turmeric powder — produces yellow to golden tones
- Spirulina powder — produces blue-green tones
- Matcha powder — produces soft green tones
- Purple sweet potato powder — produces purple tones
- Activated charcoal — produces gray to black tones
- Cocoa powder — produces warm brown tones
Natural colorings generally produce softer, more muted tones than synthetic dyes and may fade slightly over time. They’re also less consistent between batches since concentration varies, so some experimentation to get the depth of color right is expected.
FAQ
Is borax safer than contact lens solution for sensitive skin?
Neither borax nor standard contact lens solution is ideal for sensitive or eczema-prone skin since both contain boric acid as the active slime-forming ingredient. If boric acid is the concern, the liquid starch, cornstarch-based, psyllium husk, and aloe vera recipes in this list are genuinely better alternatives.
Can kids with eczema ever use regular slime?
It depends entirely on the individual child’s specific sensitivities and the severity of their eczema. Some children with mild eczema have no reaction to standard slime at all, while others react immediately. A patch test with barrier cream applied first is always worth trying before assuming standard slime is off-limits, but during active flares all slime play is generally better avoided until the skin has healed.
What moisturizer should I use after slime play for eczema-prone skin?
A fragrance-free, dye-free emollient moisturizer is the best choice after any slime play session. Any moisturizer recommended by a child’s dermatologist for their eczema management routine is appropriate. Apply generously immediately after washing hands, while the skin is still slightly damp for best absorption.
Are there commercial slimes that are safe for sensitive skin?
Some commercial slimes are marketed as skin-safe or dermatologist-tested, but ingredient lists vary significantly between brands and products. Always check the full ingredient list rather than relying on marketing claims, and do a patch test before a full play session regardless of what the packaging states.
How long can kids with sensitive skin safely play with these slimes?
Thirty to forty-five minutes is a reasonable maximum play session length for most children with sensitive skin. Applying barrier cream before play, keeping sessions to this length, and washing and moisturizing immediately after reduces the risk of irritation even from the gentler recipes in this list.
Bottom Line
Sensitive skin and eczema don’t have to mean missing out on slime. The recipes in this list cover the full range from minimally adjusted standard slime with a gentler activator through to completely natural two-ingredient options that are safe even for the most reactive skin. Start with the patch test regardless of which recipe you choose, apply a barrier cream before play, and wash and moisturize immediately after. Within those boundaries, slime is an accessible sensory activity for most children with eczema rather than something that needs to be avoided entirely.
Enjoyed this project? Get even more DIY ideas that save (and make) you money.
Join our free newsletter for profitable DIY projects, clever cleaning hacks, home ideas, and creative crafts delivered straight to your inbox.
✓ Free forever • No spam • Unsubscribe anytime




