
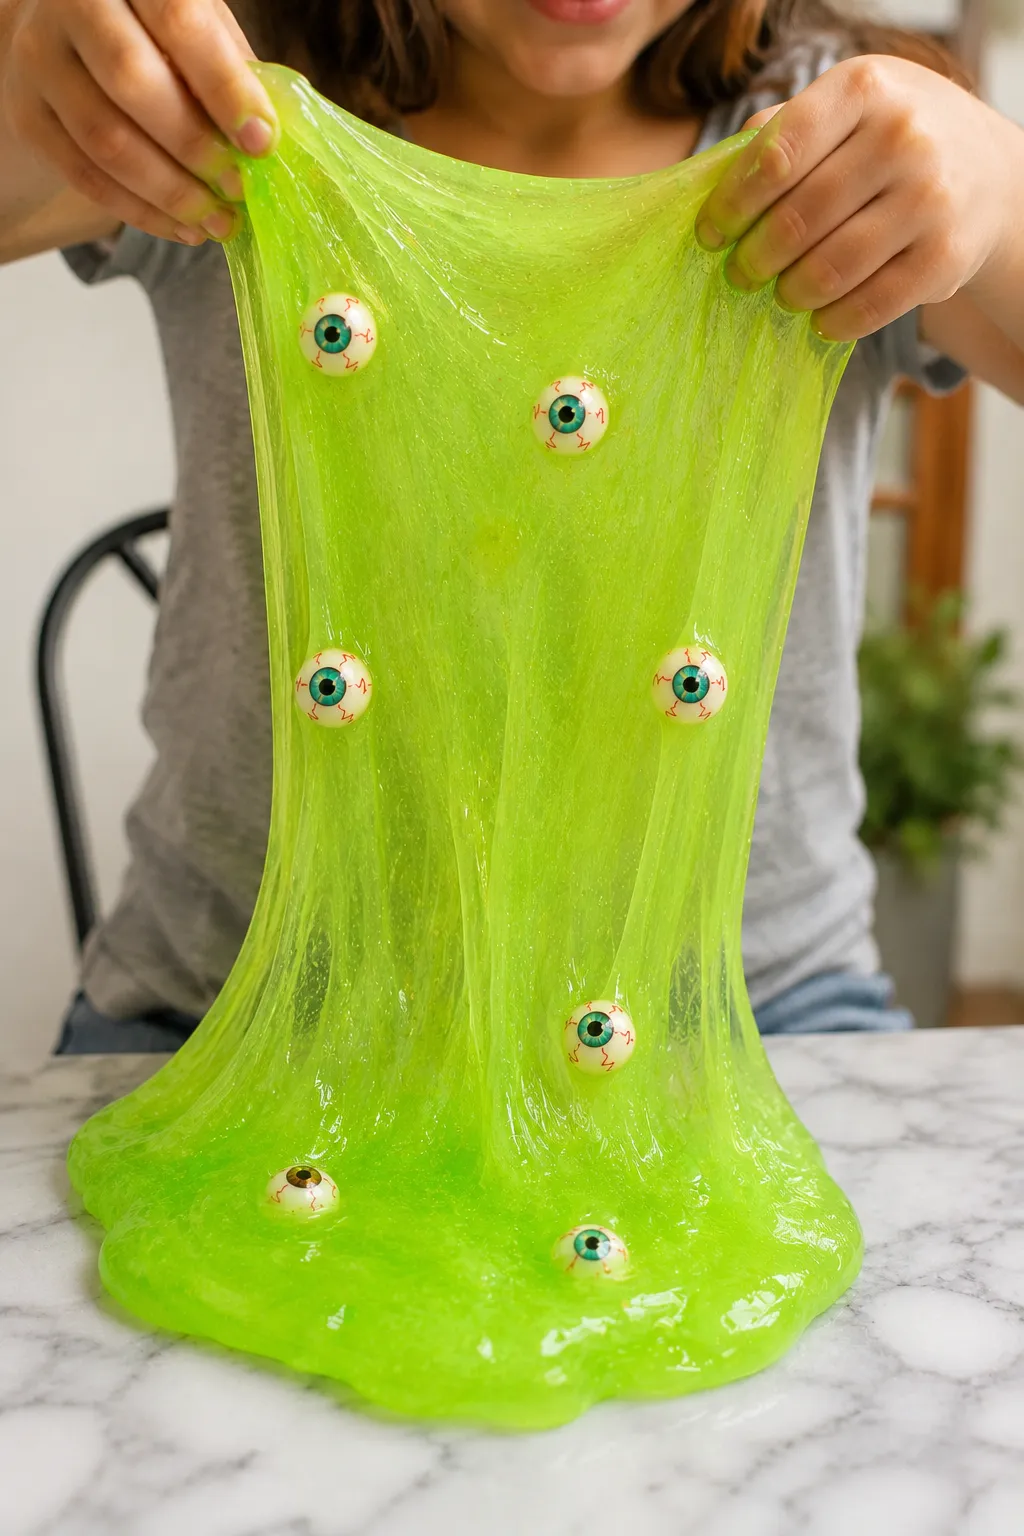
Jiggly slime is the one that wobbles when you shake it, bounces slightly when you drop it, and has that translucent, water-like quality that makes it look almost like a solid piece of jello sitting in your hand. It moves completely differently from standard slime, flowing and quivering rather than stretching and pulling, and the jelly cube version takes that further by cutting the finished slime into cubes that jiggle independently when touched.
The key to getting that distinctive jiggly texture is water. Significantly more water than any standard slime recipe uses, diluting the glue base enough that the finished slime is much closer to a gel than a traditional polymer. Get the water ratio right and the texture is immediately recognizable. Get it wrong in either direction and you end up with either regular slime or a watery mess that won’t hold together.
Here’s exactly how to make both the standard jiggly slime and the jelly cube version, with the specific ratios and techniques that make both work.
What Makes Jiggly Slime Different
Standard slime is made from a concentrated glue base that, once activated, forms a dense polymer network. Jiggly slime uses a dramatically diluted glue base, typically one part glue to three or four parts water, which creates a much looser, more open polymer network. That loose network is what gives jiggly slime its gel-like, wobbly quality rather than the dense elastic stretch of regular slime.
The tradeoff is durability. The same dilution that creates the jiggly texture also makes the slime more fragile than standard versions. Jiggly slime tears more easily, breaks apart more readily when handled aggressively, and dries out faster than concentrated slime. Gentle handling and proper storage are more important for jiggly slime than for any other type.
What You’ll Need
For the jiggly slime base:
- ¼ cup of clear PVA school glue
- 1 cup of water (four times the volume of the glue)
- ½ teaspoon of baking soda
- 1 to 2 tablespoons of contact lens solution containing boric acid
- Food coloring or liquid watercolors (optional)
- Fine glitter (optional)
- A large mixing bowl
- Airtight container for storage
For the jelly cube version (additional):
- A flat-bottomed silicone mold, baking dish, or shallow container
- A sharp knife or bench scraper for cutting cubes
- A flat tray lined with plastic wrap for setting
Choosing the Right Glue
Clear glue is essential for jiggly slime rather than white glue. The transparency of clear glue is what gives jiggly slime that distinctive water-like, translucent appearance. White glue produces an opaque result that doesn’t capture the jello-like visual quality even if the texture is correct.
Use a good quality clear PVA glue rather than a budget version, since the polymer quality in cheaper clear glues sometimes produces a weaker gel with the high water ratios this recipe uses.
How to Make Jiggly Slime
Making the Base
- Pour the clear glue into a large mixing bowl.
- Add food coloring or liquid watercolors if using and stir until fully distributed. Use slightly more color than you would for standard slime, since the water dilution in the next step lightens the color significantly.
- Add fine glitter at this stage if using.
- Add the water to the glue slowly, stirring continuously. The mixture will become very thin and watery-looking, which is exactly right.
- Add the baking soda and stir until fully dissolved with no visible powder remaining.
- Begin adding contact lens solution one teaspoon at a time, stirring continuously after each addition.
- Continue adding solution gradually. The mixture will start forming a very loose, barely-there gel as the activator works through the highly diluted glue.
- Stop adding activator as soon as the mixture just barely comes together as a cohesive gel. Jiggly slime needs significantly less activator than standard slime because the high water content means the polymer concentration is already much lower.
- Let the mixture rest in the bowl for five minutes without touching it. The gel continues forming during this rest period.
- Very gently lift the gel from the bowl using wet hands or a spatula. It will feel extremely fragile and may break apart initially, which is normal.
- Handle very gently, using a gentle folding motion rather than kneading, since aggressive handling tears jiggly slime apart rather than working it like standard slime.
Correcting the Consistency
Getting jiggly slime to the right consistency often takes a small adjustment after the initial rest period.
If the slime is too watery and won’t hold together at all, add one drop of contact lens solution at a time, letting each drop work through the mixture for thirty seconds before assessing. The difference between too runny and just right is very small with jiggly slime, so add slowly.
If the slime is too firm and doesn’t have the characteristic jiggle, the activator amount was slightly too high. Add a small amount of water and fold through very gently, checking the consistency after each addition.
How to Make Jelly Cube Slime
The jelly cube version takes the jiggly slime base and sets it into a flat sheet, then cuts it into cubes that jiggle and bounce individually when handled. The cubes are the satisfying part, each one independent and wobbly on its own.
Setting the Slime
- Line a flat-bottomed baking dish or shallow container with plastic wrap, pressing it smoothly against the bottom and sides.
- Pour the finished jiggly slime base into the lined container, spreading it into an even layer roughly one to one and a half inches deep.
- Cover the container loosely with plastic wrap.
- Place in the refrigerator for two to three hours. The cold temperature firms the slime significantly and makes it much easier to cut into clean cubes without tearing.
- Once firm, lift the slime sheet out of the container using the plastic wrap as a handle and place it on a flat cutting surface.
Cutting the Cubes
- Use a sharp knife or bench scraper to cut the slime sheet into even grid lines, first in one direction and then across at right angles to produce cubes.
- Work with a single clean downward press rather than a sawing motion, since sawing drags and tears the gel.
- Aim for cubes roughly one inch square, though slightly smaller cubes have a more pronounced individual jiggle effect.
- Separate the cubes gently and place them in a pile or on a flat surface.
Playing With Jelly Cubes
The cubes are designed to be pressed, stacked, and combined back into a mass. Pressing a single cube and watching it reform is most of the sensory satisfaction of this version. Placing multiple cubes together and pressing them back into a single jiggly sheet is another popular play pattern. Some kids enjoy cutting the cubes further into smaller pieces, and the satisfying way the gel cuts cleanly without sticking to the knife is part of the appeal.
Getting the Best Results
- Use exactly the 1:4 glue to water ratio. This specific ratio is what produces the jiggly texture. Using more glue produces standard slime, and using less glue produces a gel that won’t hold together at all.
- Add less activator than feels right. Jiggly slime needs roughly half the activator of standard slime. Stop adding contact lens solution the moment the mixture just barely comes together.
- Rest before handling. The five-minute rest period after mixing is genuinely important since the gel continues forming during that time and handles much better after resting than immediately after mixing.
- Use wet hands when handling. Slightly damp hands grip jiggly slime more gently and are less likely to tear it than dry hands.
- Refrigerate before cutting for the cube version. Room temperature jiggly slime is too soft to cut into clean cubes. The refrigeration step is not optional for the cube version.
- Work gently throughout. Jiggly slime is fundamentally more fragile than standard slime and needs to be treated accordingly at every stage.
Jiggly Slime Variations
Clear Jelly Cube Slime
The most visually striking version uses no coloring at all, producing completely transparent slime cubes that look exactly like clear gelatin or glass. The transparency makes every cut line and cube edge sharply visible, and the cubes catch light beautifully when stacked or held up to a light source.
Colored Jelly Cubes
Each jelly cube batch can be made in a different color and the cubes from multiple batches combined for a rainbow jelly cube pile. Use liquid watercolors for the most vibrant color in the diluted slime base, since the high water content of jiggly slime dilutes standard food coloring to an almost invisible level.
Glitter Jelly Cubes
Fine holographic glitter mixed into the glue before adding water creates glitter suspended throughout the gel, catching light from within the cube rather than just on the surface. The effect in a clear cube with holographic glitter inside is particularly striking, resembling a glitter snow globe in solid form.
Ombre Jelly Cubes
Make a single batch and add coloring gradually in increasing amounts as you pour the slime into the setting dish, creating a gradual color gradient from one end of the sheet to the other. When cut into cubes, each row of cubes will be a slightly different shade, and arranging them in gradient order produces a visually impressive display.
Scented Jelly Cubes
Add two to three drops of fragrance oil or a few drops of flavoring extract to the glue before adding water. The scent disperses through the water-diluted base and produces a lightly scented finished cube. Lighter scents work better than strong ones given the high water content, since the dilution reduces scent intensity noticeably.
Quick Fixes for Common Problems
| Problem | Potential Solution | Alternative Approach |
|---|---|---|
| Slime is too watery and won’t form a gel at all | Add contact lens solution one drop at a time, waiting 30 seconds between each drop to let it work | The glue to water ratio may be off—check that exactly ¼ cup of glue was used per 1 cup of water |
| Slime is too firm and doesn’t jiggle | Too much activator was added—fold in a small amount of water very gently | Start again with slightly less contact lens solution, since the correct amount for jiggly slime is less than most people expect |
| Jelly cubes won’t cut cleanly and tear instead | The slime wasn’t refrigerated long enough—return to the refrigerator for another hour | Use a sharper knife and a straight downward press rather than any sawing motion |
| Cubes stick together after cutting | Lightly dust cut surfaces with a tiny amount of cornstarch to prevent sticking | Refrigerate the cut cubes separately on a lined tray for 30 minutes before combining |
| Color is barely visible in the finished slime | The high water dilution lightens color significantly—use liquid watercolors and double the usual amount | Add color to the glue before water dilution and use a much more saturated color than seems necessary at the glue stage |
| Slime tore apart during handling | Handle with wet hands and use gentle folding only, not kneading | This is expected with very jiggly batches—either add one more drop of activator or embrace that very jiggly slime is inherently more delicate |
| Slime dried out quickly in storage | The high water content evaporates faster than standard slime—ensure container is completely airtight | Add a few drops of water and fold through before the next play session to restore moisture |
How to Store Jiggly Slime
Jiggly slime dries out faster than any other slime type due to its high water content, and proper storage matters more for this type than for denser slimes.
- Store in a fully airtight container immediately after play.
- For jelly cubes specifically, store the cubes in their container with a small piece of damp paper towel alongside them to maintain humidity.
- Properly stored jiggly slime lasts approximately one to two weeks before the texture changes noticeably.
- If the slime has stiffened slightly during storage, fold in a few drops of water to restore the jiggly consistency.
- Jelly cubes can be reformed back into a single mass and re-poured into a mold for resetting if they begin to dry at the edges.
FAQ
Why does jiggly slime use so much more water than regular slime?
The water dilutes the glue concentration significantly, which reduces the density of the polymer network that forms when the activator is added. A less dense polymer network creates a looser, more gel-like structure that flows and jiggles rather than stretching and holding shape like standard concentrated slime.
Can I make jiggly slime without contact lens solution?
Liquid starch works as an alternative activator for jiggly slime and produces a slightly softer, more fluid gel than contact lens solution. Add it in even smaller quantities than contact lens solution since it’s a stronger activator in the more diluted jiggly slime base, and stop at the earliest sign of gel formation.
Is jiggly slime safe for young children?
The recipe itself uses the same ingredients as standard clear glue slime, so the safety considerations are the same. The main additional consideration for jiggly slime with young children is that the cubes could potentially be mistaken for food given their jello-like appearance, so supervision is important particularly with toddlers.
How do I know when I’ve added enough activator?
The correct amount for jiggly slime is the point where the mixture just barely holds together as a cohesive gel when lifted with a spoon. It should still look and feel extremely loose and jiggly rather than firm. If it looks like it might be on the verge of holding together, stop adding activator and let it rest for five minutes before deciding whether more is needed.
Can I add beads or other add-ins to jiggly slime?
Lightweight add-ins like fine glitter work well in jiggly slime since they disperse through the water-diluted base easily. Heavier add-ins like fishbowl beads or water beads tend to sink to the bottom of the loose gel rather than staying suspended throughout, which limits their visual impact. Very small foam beads can work if added in small quantities.
Bottom Line
Jiggly slime earns its dedicated following because the texture is genuinely unlike anything else in the slime category, and the jelly cube version adds a cutting and handling element that extends the play experience beyond what standard slime offers. The water ratio is the whole recipe, get that right, add as little activator as possible, rest before handling, and refrigerate before cutting. Everything else is just color and presentation. Once you’ve made a batch that wobbles properly and holds together long enough to cut into clean cubes, the appeal of this particular slime type is immediately obvious.
Enjoyed this project? Get even more DIY ideas that save (and make) you money.
Join our free newsletter for profitable DIY projects, clever cleaning hacks, home ideas, and creative crafts delivered straight to your inbox.
✓ Free forever • No spam • Unsubscribe anytime




